I thought I’d continue my basement studio makeover posts (catch up with the first one here) with the planning and the “build-out” phase where we actually assembled and moved everything around, both of which took ages! Not necessarily the most glamorous topics, either. But I feel like many people just do “before and after” shots and you don’t actually get to learn much about the nitty gritty along the way, and how they decided to get from A to B. So I’m going to chat about those bits for our basement. To me, the nitty gritty was part of the fun. Well okay, one part fun, several parts challenge.
Beware… long post ahead! 😉
Our basement is more than just my sewing and craft area. It’s also Mel’s art space, and now there’s a new space for an entertainment center, too, so we can watch TV or listen to music. Those spaces were a lot easier to plan—Mel mainly wanted a big work table and a small amount of storage for things that wouldn’t live on the table, and lots of bookcases, and a seating area. Easy, especially since we already a good amount of the building blocks for that already. The entertainment center and record storage was easy, too. My sewing area… uhhh yeah, I’m sure you can guess that took the bulk of time to plan!
We more or less split the main open part of the basement between us. While my area was a pretty sizable space, it didn’t have all the normal ‘boundaries’ that walls give you in an actual room, since I only had two walls. The long wall was 19′ long (slightly less usable space since it butts up against the storage room door), and the other wall was just under 11′ long, where it jogged and continued on to be Mel’s wall. And it was wide open in the middle, but with a structural pole to work around.
Since I was basically starting from scratch in my head, I had to really think about the space and what I needed for it. My area was the bulk of the new purchases, because I mainly needed a crap load of storage!
Things I needed (well, really wanted) in my space:
- Cutting table. This was the single most important thing. Being previously crammed with everything on two tables and having to cut fabric on the floor on two small cutting mats butted against each other that I had to move around all the time, I knew I wanted something massive, with a huge cutting mat on top (so sick of using a rotary cutter over the seam between two mats!!). This would also double as my work table during projects.
- Sewing table. I planned to surrender my old tables as they were 29″ deep and I wanted the new table(s) to take up less space into the room. I liked having my serger and sewing machine near each other in my previous area, so I wanted a table surface long enough to put them next to each other, but have a bit of breathing room on either side so I didn’t feel cramped.
- Fabric storage. I planned for this to mostly go under the cutting table in storage cube units, but also overflow into additional cube units elsewhere.
- Sewing pattern storage. My idea was to re-use a dresser I had been using for supply storage (and then paint it), but overflow of pretty vintage ones could be displayed in cubbies, too.
- Miscellaneous supplies storage. Storage cube units and a dresser of some kind for things I just couldn’t figure out how to store in cubes. I knew all these cubes meant in the long run coming up with creative ways to store things other than only dumping them in fabric bins in them, but cube units are inexpensive and you get a lot of storage for your money. So I planned more storage in bins than I was sure I really needed.
- Space for resin crafting and other messy crafts. I wanted a table dedicated to this so I could leave messy projects involving glue or resin or whatnot out and not out on my cutting table. I didn’t want to be tempted to let my cutting table get junky, which would defeat the purpose of having it. We had a vintage enamel top dinette table in the basement that was perfect for this.
- Storage for resin crafting. I already had an under-table plastic unit that thankfully also fit under the dinette table too (with zero room to spare!), but I also needed a little something that was an upgrade from the beer box I had been using. (Classy, right?)
- Book storage. I needed a bookcase. Overflow books could go in some of the cubbies. (Obviously a trend here… overflow in cubbies!)
- Mirror. Sadly, I knew I would have to give up the gigantic full-length mirror we’d pulled from our bathroom remodel which is what I had been using (pictured in my first post), because it was 38″ wide and I couldn’t dedicate 38″ of wall space to it in my new area, try as I might. So I needed as big as I could get but hopefully freestanding, as I ideally didn’t want to dedicate any wall space to it. (We’re keeping the mirror but will mount it on the wall outside our basement bathroom door, horizontally.)
Things I wanted in my space but decided couldn’t fit:
- Sitting area. I really wanted a little reading nook or something, but (not surprising) I just couldn’t make all of the above happen and a sitting area. But Mel’s art space was going to have a sizable sitting area, so I knew I could just go sit there.
- Place to stand for photos. This sounds silly, but I was really hoping I could find a good spot to stand where I could get far enough back with a camera and tripod to take blog photos. In the end, I decided functionality was way more important, though!
- My vintage Kenmore sewing table. I know. It’s so cute, but especially since I haven’t gotten the machine fixed yet, and I adore my Bernina (I got it early 2015), I couldn’t work it into the space without it being table after table after table (and I didn’t want to use it as my ‘messy’ table and ruin it). So we planned to fold the top up into a desk (the machine sits inside) and move it elsewhere in the basement.
That felt like a whopper of a list when I started to plot it all out, and of course I didn’t figure out what I couldn’t actually fit until I’d gone through lots of drawings and calculations and such!
I knew I mainly wanted to stick with IKEA purchases because my idea four years ago to try and do a mix of vintage and IKEA never happened, because I just apparently don’t have the capacity to slowly build a space in that way. So in my area, I decided the vintage and retro elements would be added in with decorations and embellishments and such, the things to give it my touch. That gave me the freedom to really just plan a blank slate, and IKEA does a bang-up job of pretty affordable storage. Over time, I’ll then fill in with color and personality.
But I admit that this was a bit intimidating. Looking at so many craft rooms on Pinterest and blogs made me feel like I’d never be able to really plan a perfect space, one of those spaces that just wows you with creative inspiration. And I saw sooo many of those. But I realized that most of what made those spaces wonderful was all the little personal touches, and it would take time living in the space to make that happen. And so I had to recognize that starting at the ground up, my space wasn’t going to have much of that. Putting my own stamp on it will all come with time. So first, I had to plan the shell around which I’d build my dream space.
Here’s one of the myriad of not-to-scale drawings I did during our planning. This was just to give me the rough dimensions we each had to work with, along with a few obstacles. My area had the storage room door (and that wall would house our entertainment center) and a structural pole, Mel’s area had the gas meter and water shutoff in the corner, and ended where our ejector pump closet was located.
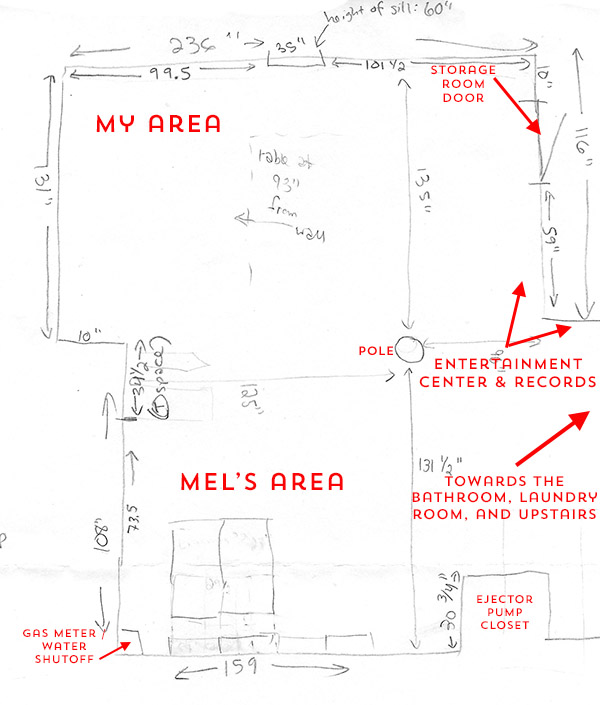
Drawings like this were incredibly helpful and allowed me to plan to the inch what would fit!
And so, time for some photos while we were building out our spaces! Between moving things around and building IKEA furniture, this took a good few weeks of nearly solid work over evenings and weekends. It was also pretty comical for awhile because you’d have to move a bunch of crap to build something and then move the thing you built someplace else while you build something else to make room for the things that needed to go into the thing you just built… you get the idea.
The first thing was getting Mel’s table in place (two of the IKEA dining room tables we already had, back to back to make a large square-ish table that’ll probably get stained or painted some day), as well as seating area with our vintage two-piece sofa split in two, separated by a vintage end table. This not only got a good bulk of Mel’s space done right off the bat, it made room in my space to start moving in things as we assembled them. It was also super helpful during the entire build-out as we had a comfortable place to sit, away from the litter of boxes and packaging and furniture madness we were making. At the end of the night we’d often have a beer and sit on the sofa and admire our handiwork for that evening. (Don’t worry, there was often a beer during the handiwork, too. Massive amounts of IKEA assembly kind of requires it.)
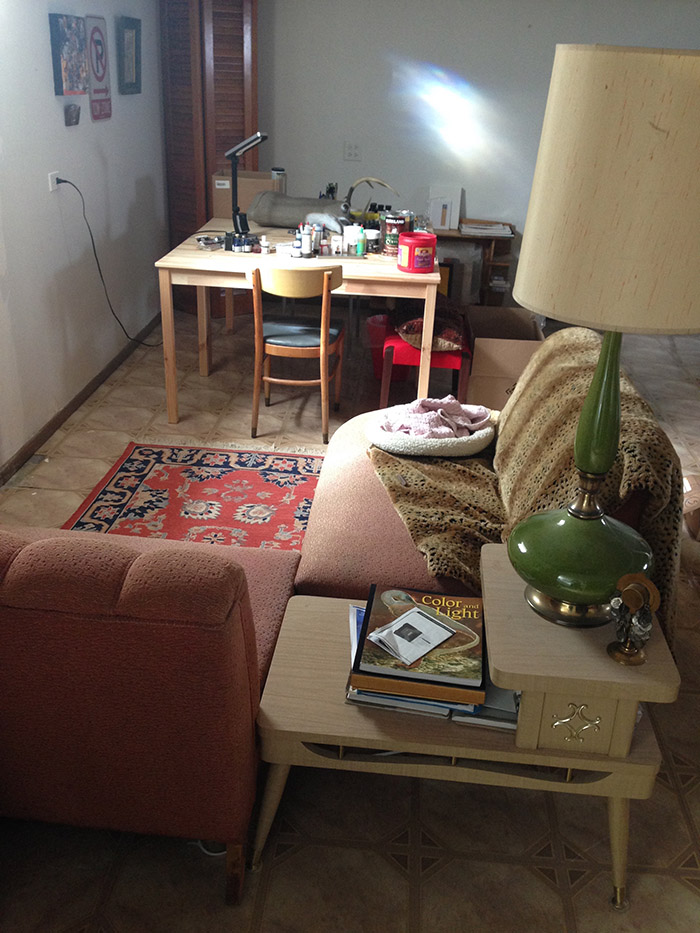
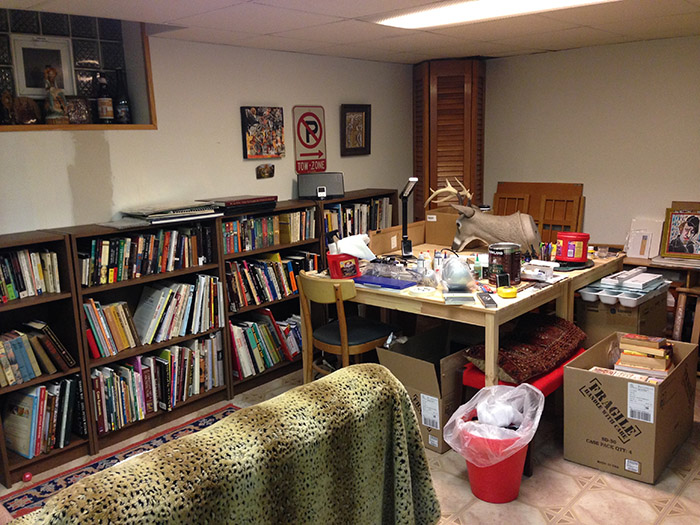
Then the new bookcases went in place along Mel’s long wall. Obviously this starts the point where we had to move crap into every available spot (plastic deer head, art, shelves) until there were homes for it (plus leaving random things on the walls from before), and the books weren’t organized at this stage yet, either. But it was exciting because even from this early point we could see one of the spaces taking shape!
The area that would become my space was a bit mind-numbing to look at for awhile… definitely in progress, below. Some things moved out, and I think only one of my sewing tables built at this point.
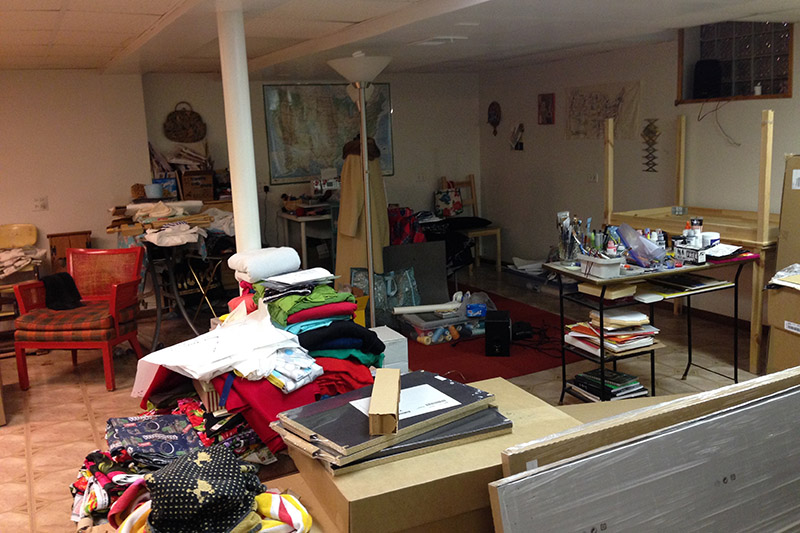
This is the same space a bit later on, with only my sewing tables (in the corner) and a couple of cube units in place (with random fabric shoved in them to get it out of the way). But already starting to look better.
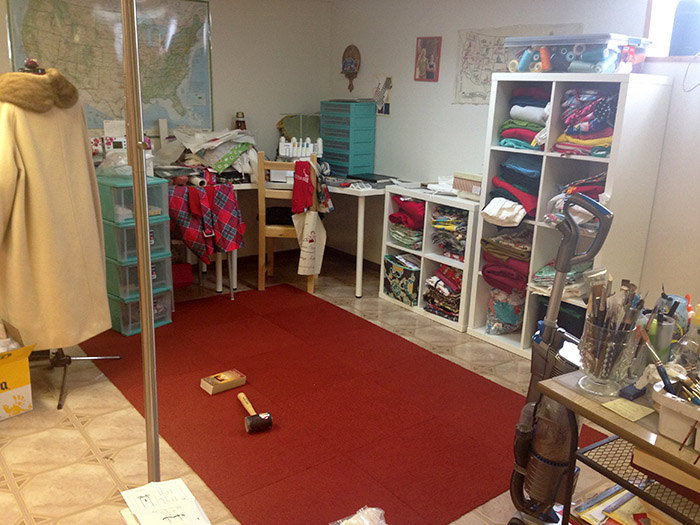
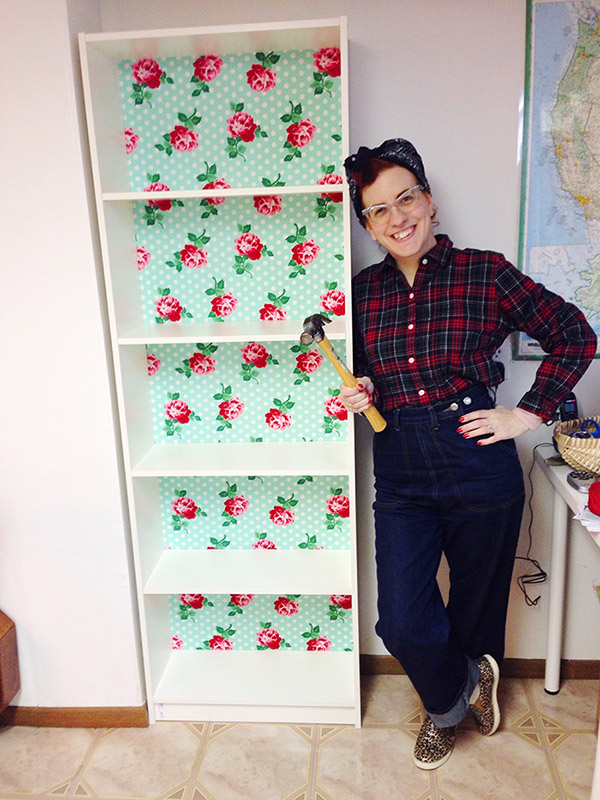
One DIY project I planned ahead of time was to use fabric to line the back of my bookcase, so that had to be done when we assembled it. I used an adorable Michael Miller retro roses fabric (this is Lucy in aqua), which features many of the colors I plan to incorporate in my area long-term. Which is mainly aqua, red, and pink, with a smattering of other colors like green and yellow, most likely. But those colors are my focus.
The bookcase fabric backing is one small thing but it makes a huge impact! Thankfully this bookcase perfectly into the jog in the wall. (Which I obviously knew when I planned this, thanks to all my obsessive measuring.) Happy face of a successful project!
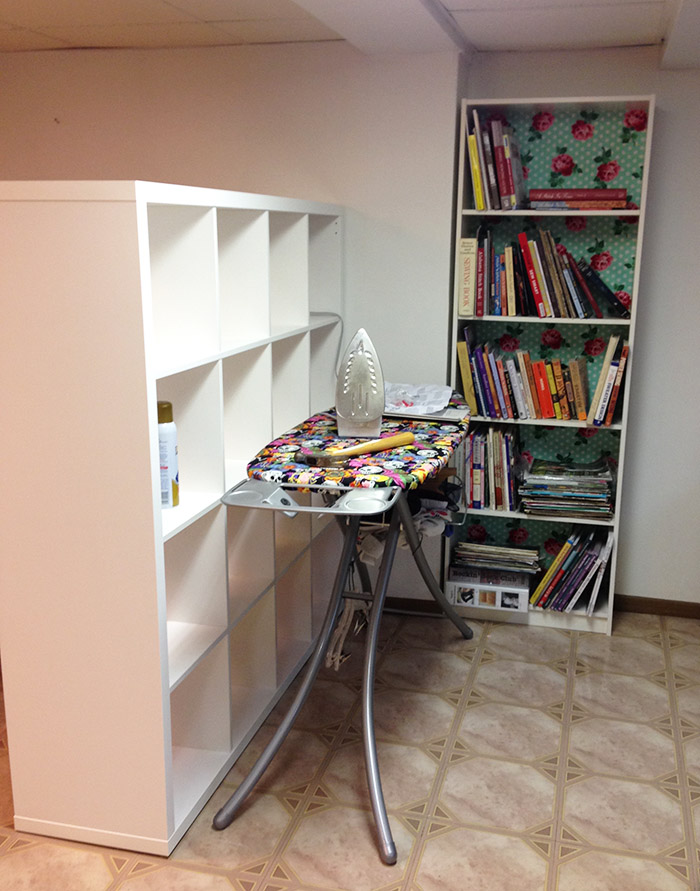
Because my space only has two walls, I had to think outside the box (literally) of the concept of a “room”. I didn’t really have enough wall space to have my ironing board against a wall, so I knew it would have to stick away from a wall. The best location was just to the left of the bookcase. But I’m left-handed and need the wide end to my left when standing at it, and that meant the iron would be kind of sticking out into the room when not in case. To make it feel more safe and also to work as a bit of a room divider from Mel’s work space (and of course, more storage!), we added a huge Kallax cube unit behind it. This will be the unit for overflow fabric and random things in bins (looooong funny story I’ll tell you some day about the bins… once I have them!). Stuff like interfacing, linings and fabric scraps, possibly with my vintage sewing patterns on display in the upper cubes, and at least one cube for the items I like to have handy as I work at the ironing board.
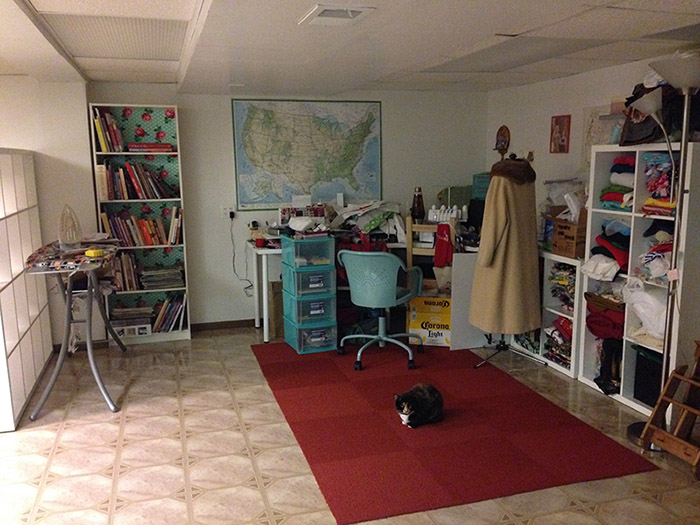
And you can see that area in relation to the rest of my space, which was little further along below, I think. I like that the ironing station and room divider really makes it feel more like a room!
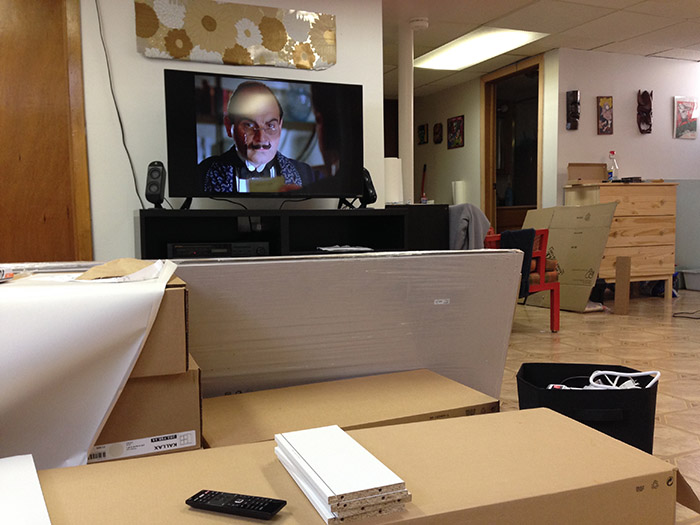
Meanwhile, we also assembled a basic entertainment center, so Poirot frequently watched over my lunch breaks working on getting things together!
For reference, the open door you see on the right side of the photo below is our basement bathroom, and approximately where many of the full “before” shots were taken. Beyond that structural pole is the laundry room and the stairs to the first floor. (The tacky wallpaper bit above the TV was what we found behind our bathroom mirror during our remodel!)
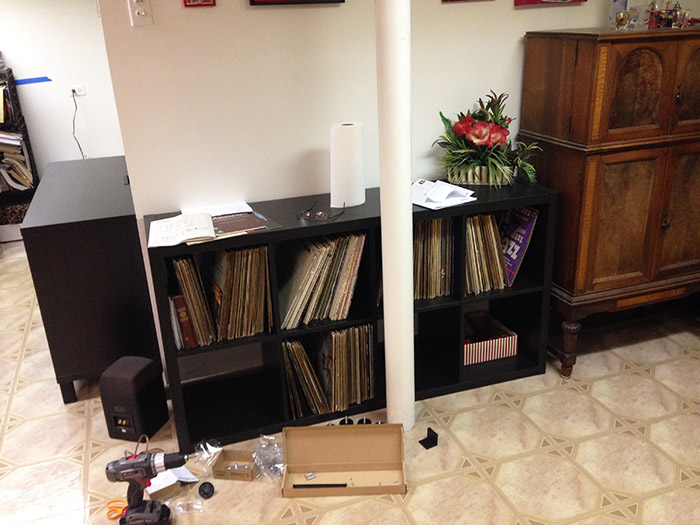
And by that structural pole now lives our records. Yay, they’re out of storage! And with room to grow, even.
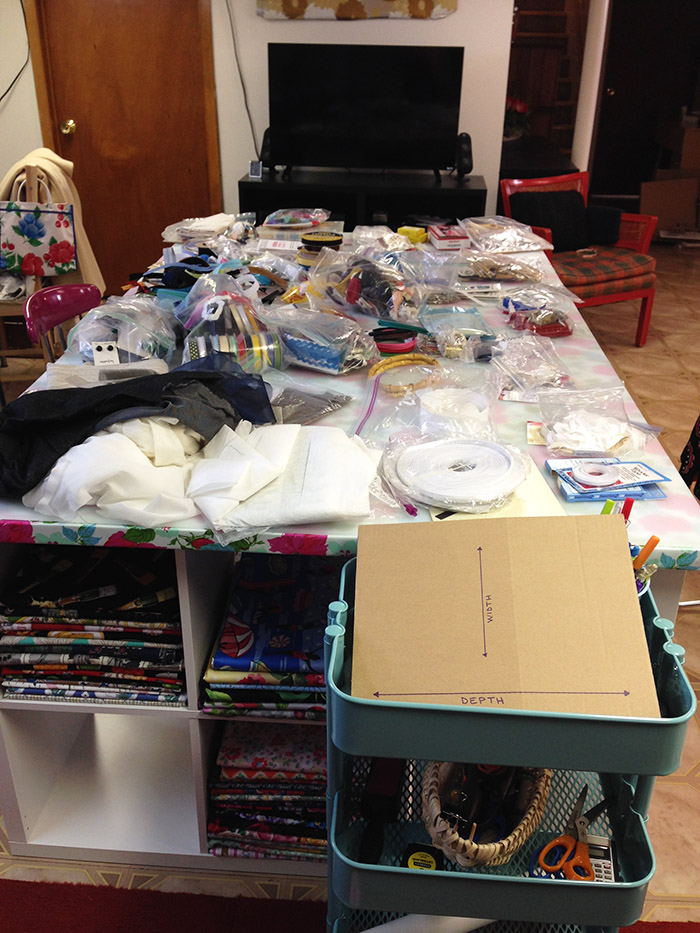
Now, about the most exciting thing (to me) to get assembled during the basement makeover was my cutting table. I planned this long and hard! I had all of the details pre-planned except I wasn’t actually sure which orientation I was going to use. I had to work around a structural pole, and decide which direction I liked best.
And…. I’m going to tease you here, because I have soo much to say about my cutting table, I’m going to dedicate a separate post to it! But you can get a preview of it below, after I pulled all the contents out of my previous craft supply dresser and put it on top to organize. (My name is Tasha and I do too many crafts.)
The table is a thing of joy and I can’t wait to tell you about it!
When I do my “current reveal” soon (I’ll wait to do the “full reveal” until much later in the year once I’ve been able to decorate and live with the space awhile), I’ll give you the rundown on all the items we purchased for my space: the tables, storage units, all that good stuff. I’ve mentioned a couple in this post, but I’ll give you all the details when I’m properly showing things off.
Meanwhile, I’m going to get back to enjoying my new space…. and organizing my crap!

I love these posts – it’s lovely to see the progress. My sewing space is a total tip and you are inspiring me!
Thanks! I’m happy to pass on the inspiration! 😀
Just loved this post! I wish I had all your room to play in! It is amazing so far. Very impressive. 🙂
Thanks! I’m so happy to have a lot of space to play in, even if it necessitates a space heater at least half the year! 😉
WOW! looking really good.
Thanks!
I’ll be honest, I’m so freaking jealous reading this. My 435 Sq ft apartment would fit in this incredibly awesome space! I think I’m lucky, though – I have tons of put of the way cabinets for storage and a random wall to put my sewing desk.
This looks so amazing and functional- I love the room divider. Can’t wait to see (and drool over) the next post!
That’s great that you have good storage, it’s important in a small space!! It was a real struggle for me to get into a groove with sewing when we had a one bedroom condo and no set sewing space (and very little room for storage). I am so thankful to have this much space to dedicate to it now!
Oh yea, one of the reasons I liked the place was because of this storage. And now my sewing machine already sits out, so it’s a better motivator. This post is definitely motivating me to get organized on my two week hiatus between work and school. I may have the storage for my fabrics but not anything else, it’s all just kind of thrown into random bins.. #no shame
Seriously, I can’t wait to see your finished space!
This is so completely awesome! I could spend days down there and not want to come back!
Thanks!! Honestly with the cutting table in place, sometimes I’ve just taken my work laptop downstairs and worked at it during the day. Just seeing it all brings me a lot of joy! 😀
Very cool post! Lotta lotta work, makes me tired thinking about it! But the results, oh my, look great, and can’t wait to see the whole room put together. Very great planning, Tasha!
Ha ha, it makes me tired looking at it too, and I did it! 😉 And thank you, it was a lot of planning but it definitely paid off!
Really enjoyed this post as I too am redoing my basement sewing area. Not as large as yours but am learning and fine tuning a lot from you
Thank you for posting the nitty gritty
Oh that’s exciting! Good luck on your own plans! 🙂
So great to see all the hard work that goes into a makeover like this. Like you said, we generally just see the before and after and I find the illusion of an instant change kind of discouraging (like I don’t have that magic wand). But this post is totally energizing! You show that there’s a lot of work involved but with planning and patience, awesome things happen. Congrats! Can’t wait for the reveal.
Thank you, and I know exactly what you mean! I find it inspiring looking at “after” photos but it’s also partially frustrating, as it can sometimes make you feel like it’s unobtainable (at least it did for me when I was looking for inspiration and ideas). A lot of planning (and frustration) and work went into making our spaces happen and I’m so happy that process is enjoyable to see for you! 🙂
Lol, every time I pull out my craft supplies I say ‘My name is Tasha and I do too many crafts’ too. Loving the basement renovations, eally inspiring though I just about managed to fit the same Kallax unit into my tiny work room, makes all the difference for storing though. Can’t wait to see the finished results.
Looks like you’ve made good progress. Love the bookcase fabric.
I can’t wait to see the big reveal- it looks like it’s going to be amazing!
The Artyologist
Love, love, love what you have done. This is awesome Tasha! It’s inspiring.