I’m going to squeeze in one last summer sewing post, okay? Okay!
There’s actually two blouses here to show you, but the same pattern and one saga.
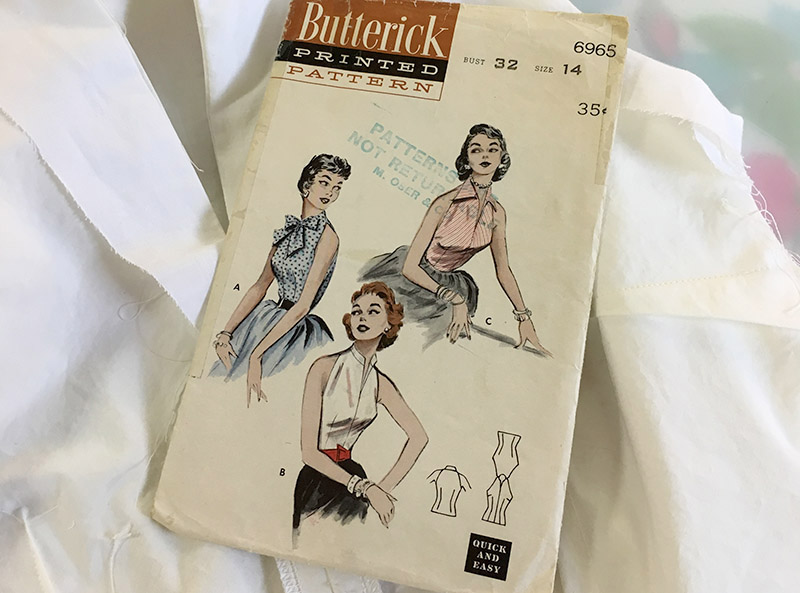
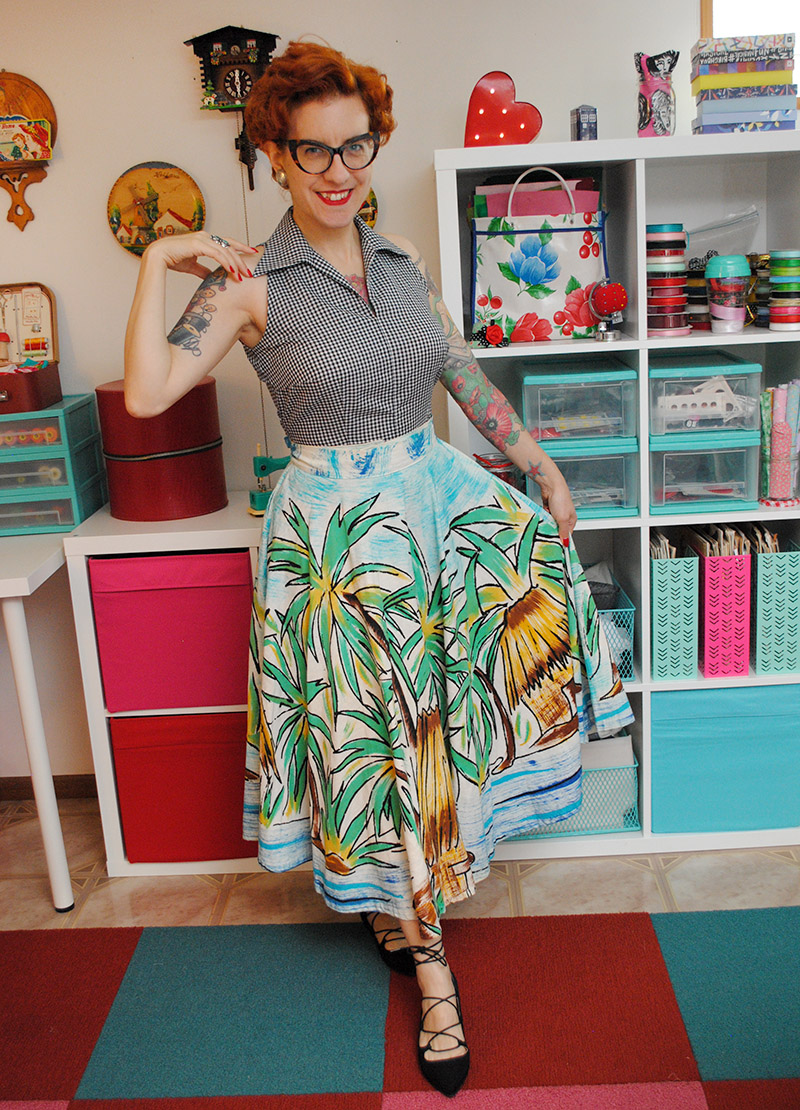
Way back in August (how does it feel like both a minute ago and last year?) I really, really, REALLY wanted to sew this vintage Butterick pattern, 6965.
So cute, right? It’s a basic blouse with a chic shape. Looks like a halter neck, but actually has a full back, so you can avoid a strapless and wear it with a racer back bra (or get a little plastic doohickey to temporarily convert your normal bra straps like me). Cute 50s collar in View C, the view I wanted to make. Simple shape. Easy, right? HAHAHAHAHAHAHA no.
I did a muslin, and made my usual adjustment of shortening the torso and lowering the bust darts. And at first glance the muslin seemed fine! Certainly good enough for me to launch into my fabric, which was an off white shirting that you won’t ever see because it only became 3/4 of a finished shirt. I had three separate issues going on at the same time:
- I couldn’t figure out how I wanted to finish the armholes. Up until this point, I really could never seem to get bias tape to curve around an armhole smoothly* (I even talked about that in my patio blouse post). Plus, the fabric was so tightly woven it fought me every step of the way. (*I’ve since resolved this, keep reading.)
- The fabric, once sewn up, was stiff and papery and felt awful as a fitted blouse. Just awful. It was doomed from that point.
- The fit on the bodice was a lot less great in the white version, although part of that was probably due to the fabric issues. But I suddenly had armhole gaping on the front and the back that I didn’t notice in the muslin.
I’ll spare you all the details, but eventually the white version became muslin 2 of about 5… I lost count somewhere along the way. In there I also at some point decided I’d try an all-in armhole and neckline facing, since it needed a facing for the collar anyway. And I used a cute gingham. And… all the seams and the facing showed through horribly and I was livid. And it was somehow a bit too tight. That version didn’t get finished, either. All throughout, I was documenting on my Instagram stories and periodically shoving it in a corner for a day or so while I was mad at it. I was at this same ol’ blouse for a couple of weeks at least I think.
Eventually, between two failed supposed-to-be “real” versions and my actually-muslins, I worked out what was wrong with the fit. I tried FBAs and taking wedges out and rotating darts out here and there… it turns out the only actual thing that I needed to do was take a large wedge off the side seam (from the armhole tapering down to nothing about 4″ down) on the back piece only, and a tiny wedge off the very top of the shoulder seam of the back too. Between my usual waist shortening adjustment and my usual bust lowering adjustment, that was all I needed to get a good fit and perfectly smooth armholes. SUCCESS, finally!
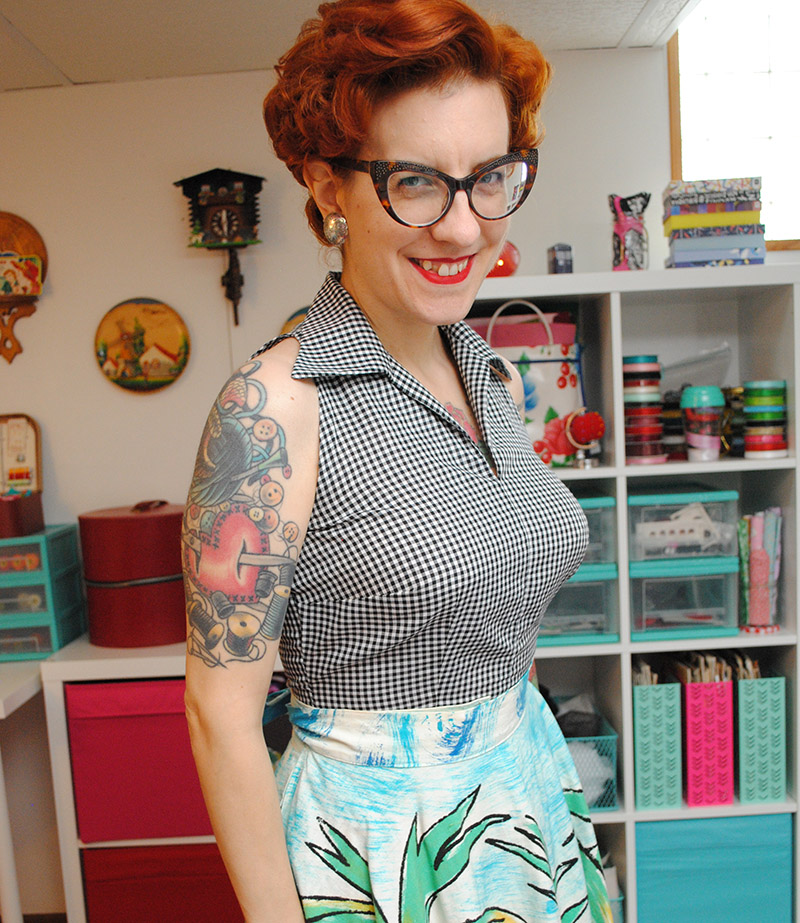
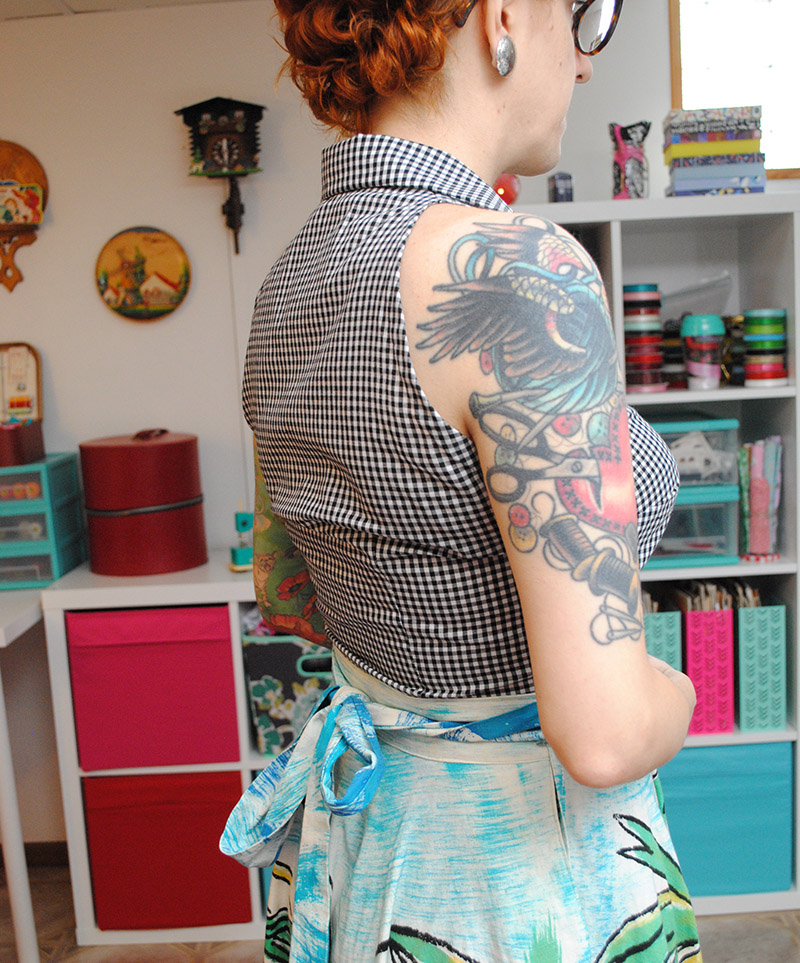
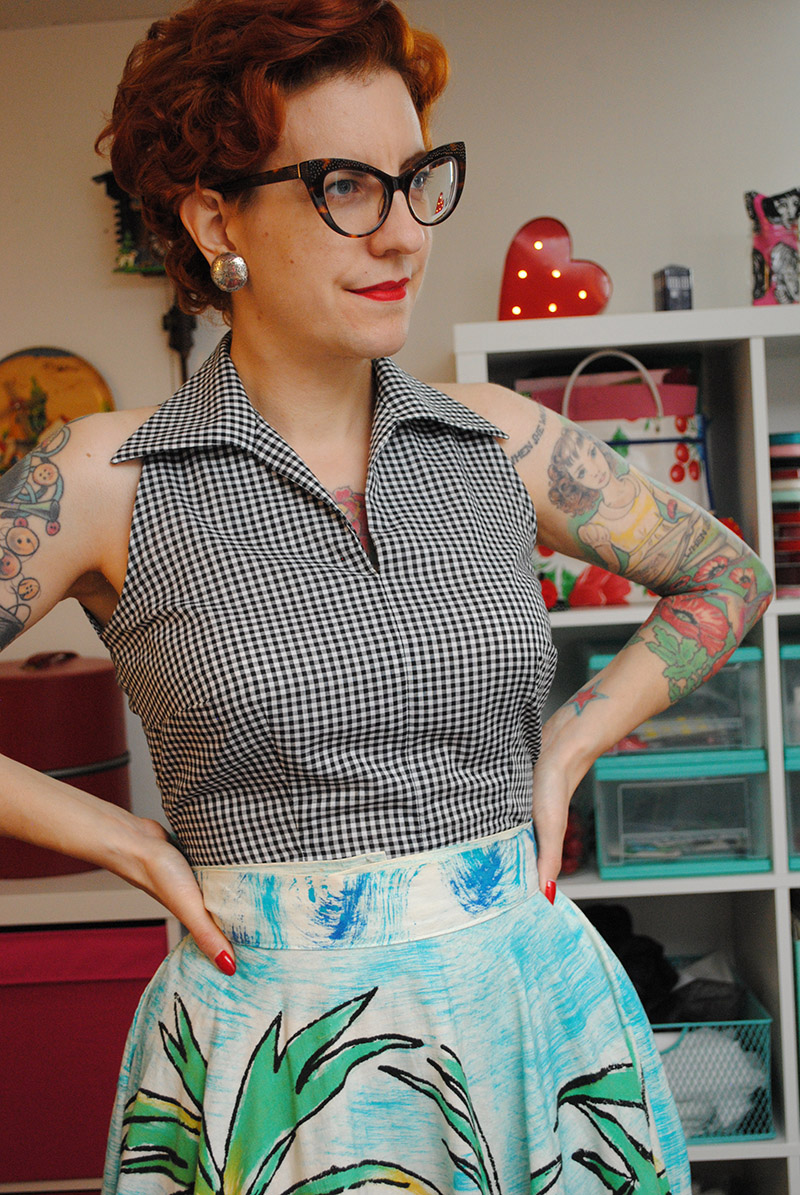
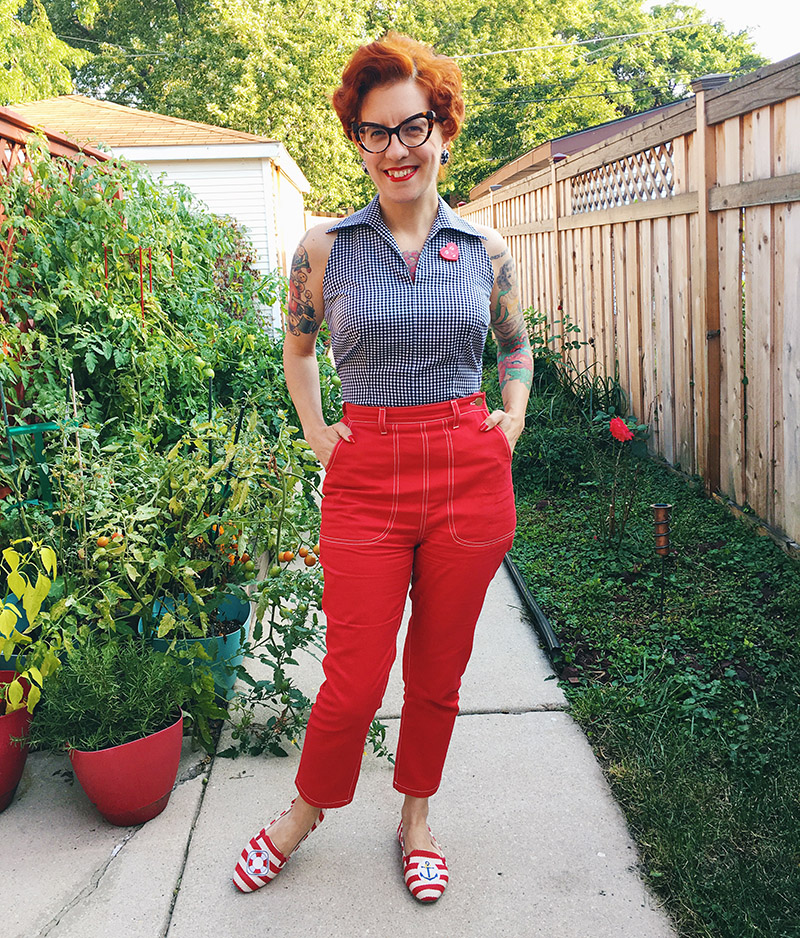
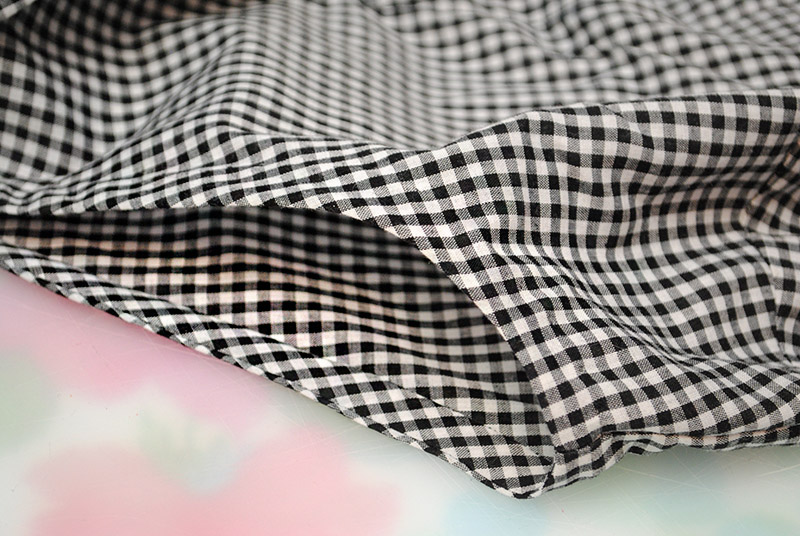
The first successful real version was in black and white gingham, a poly cotton blend from fabric.com that was thankfully slightly less sheer than the blue and white failed version. Success! And no gaping armholes to be found.
(Promise the back is smooth but things always get lumpy when you tuck them in.)
As it turned out, I made one more minor pattern adjustment after this version, which was to raise the bust dart a smidge. When you convert your bra straps to racer back they hike everything upwards a bit more than normal, so the dart was no longer in the right spot and made things below it a bit baggy. But not offensive and I’ve already worn this top loads!
Here was another outfit I liked it with, worn with my red trousers. One of the reasons I really wanted to nail this top is I knew it would go nicely with pants or skirts and I was right!
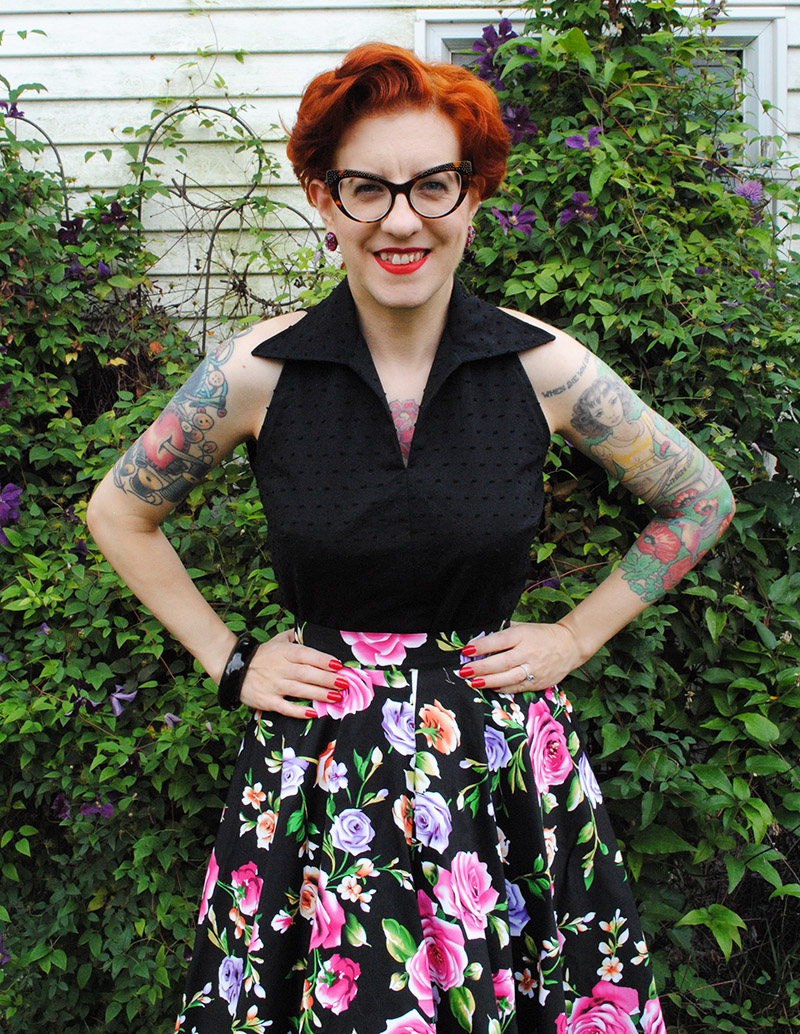
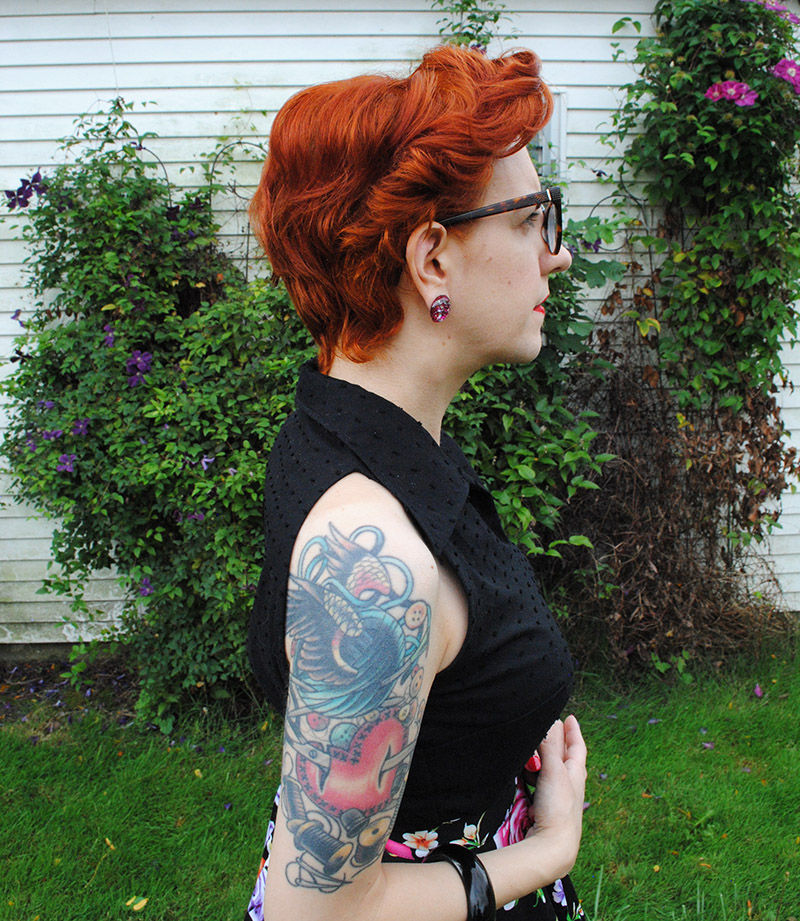
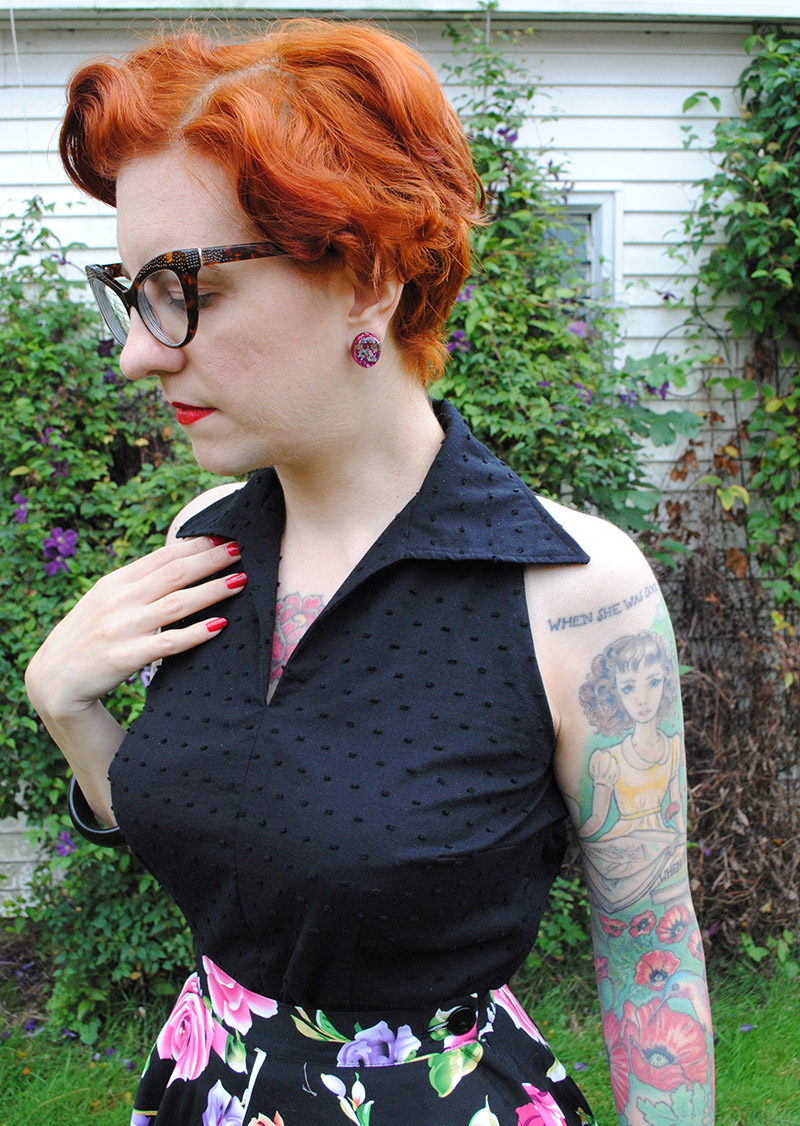
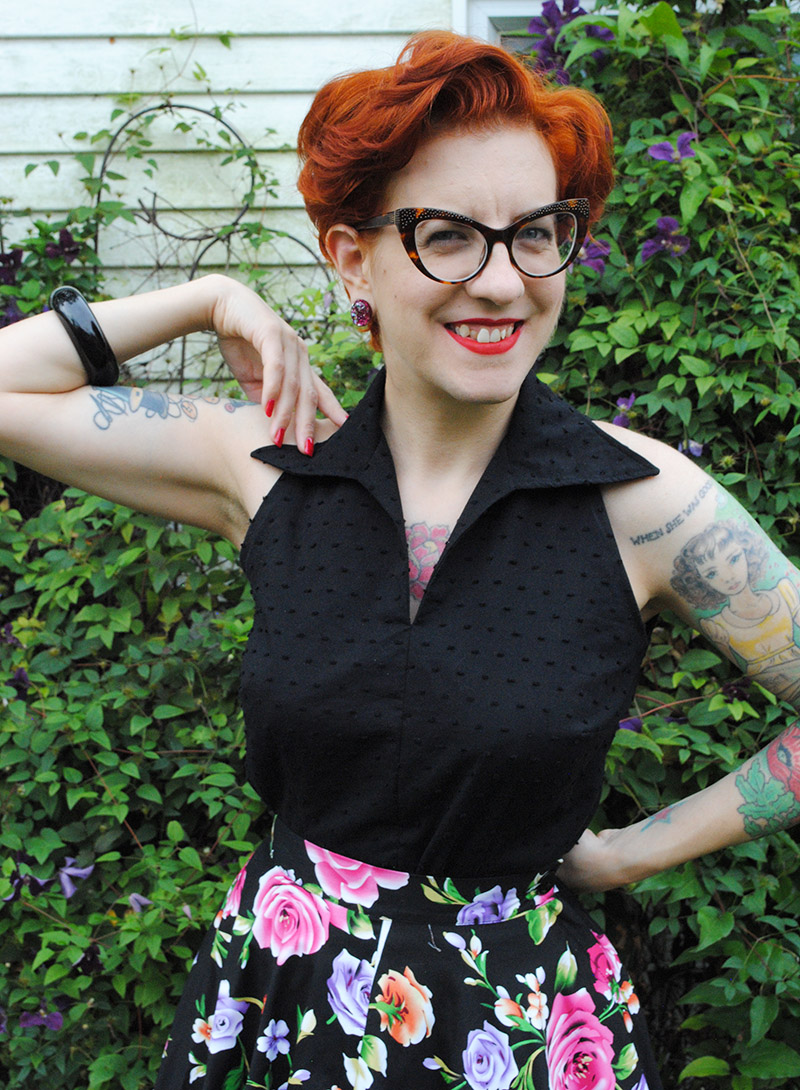
The second version was made with a somewhat sheer black Swiss dot from Mood Fabrics. It’s a gorgeous true basic!
After the first failed blue gingham version, I was really gunshy about that center front seam and the facing showing, which it would have done with the Swiss dot since it was so sheer. So I underlined it with a black cotton lawn from my stash. I always worry with underlining that everything will get all monkeyed up and ridiculous looking after the wash, but I’ve washed this top and no worries whatsoever. Phew.
I underlined this by hand. I don’t usually underline by machine until the fabrics are kind of sticky and won’t slip around at all (like underlining wool with flannel in my Cascade duffle coat). Here’s the pieces with the darts in, and you can see the yellow hand stitching to keep the fabrics together until they’re permanently sewn together in the seams.
I love how it turned out in the end, and the fit around the shoulder and armhole is great!
I’m forgetting one important triumph in this post, other than the obvious perseverance through umpteen versions to nail this thing. I conquered my bias tape armhole issue!
Somewhere, I finally encountered the tip that I’ve been missing all these years, even though it seems really obvious once I thought about it! When you’re lining up the bias tape with the armhole, when you’re in the curved section towards the bottom of the armhole, ease it in pretty dramatically to the armhole of the bodice. That is to say, use more bias tape compared to the armhole curve on the bodice. Use a lot of pins if you need to. If you don’t do that, when you flip the bias tape to the inside to sew it down, there’s not enough tape at the outer edge to go around the armhole curve, and you get wrinkling or buckling or other funky stuff with the tape. And that’s what I’d always experienced in the past. So ease that tape in good, and there will be enough to gently curve around the actual shape of the armhole in the fabric. And that’s it.
I appreciate learning new things with sewing even when they’re things I should already have known in the first place! So both of these have bias tape facing the armholes, hand stitched closed, and it looks smooth as could be. I’m thrilled.
These are two simple tops, but I’m so happy about them for so many reasons. In part because I went through soo much to get the fit right, and in part because I really really wanted a plain blouse top shaped like this! My wardrobe is seriously lacking in summer tops that aren’t just peasant blouses or plaid button ups, and I knew this would fill in a great gap. I can’t wait to make more next summer!!
The black fabric in this post was provided by Mood Fabrics in exchange for my participation in the Mood Sewing Network.



I love this pattern I have it too but haven’t tried it yet. I really struggle with armholes as I have a large cup size bust and when I size anything up it seems to go wrong 🙁 I end up doing a second bust dart from the arm hole down towards the bust, if that makes sense? It sounds all kind of wrong but actually works really well for me, however I guess it doesn’t make for the best working of the armhole, but I seem to manage. Great tip for the bias tape, I’ve never managed this either!
Does a big full bust adjustment help? I actually tried it on this blouse in two different sizes but neither was necessary in the end. But so long as you’ve got something that works for you! 🙂 I can’t believe I hadn’t realized that about the bias tape before… I guess it just goes to show you can always learn new things, however basic! 😉
I have always just compromised and never tried a big full bust adjustment but I should!
Is there a zipper somewhere??
There is! A lapped zipper in the side seam. I took a photo of it which I apparently didn’t bother to include in the post, ha ha!
I have 3 vintage versions of this blouse that I wear all summer long, and have wanted to copy. I was under the crazy delusion that drafting a pattern from one of my originals, ( without taking it apart, no less?) would be pretty simple! HA! It was a wasted-fabric struggle that I abandoned. Now, after seeing this, I want to #1: find the pattern #2: comb through your notes to get the help I need! Thanks!
The majority of my chatting about it was done on the fly in Instagram stories so it disappeared but there was a LOT of struggle, even if it only ended up with a few small tweaks in the end! Sometimes it’s just frustrating like that. Hopefully you’ll find this or a similar pattern so you can re-create your vintage ones!
I always read how much better it is to hand sew the bias tape closed too but I’m always too impatient but seeing yours reminds me WHY we are better off to take that extra time to make something so important like an armhole sit nicely! Beautiful blouses – they suit your shape so perfectly!
Thank you! Well in this case, I hand sewed it shut not because it would help it lay flat, but because it just feels like the kind of blouse that’s slightly less casual than topstitching it warranted, does that make sense? Plus as you can see it comes to a pretty sharp point at the shoulder, so I thought that might look kind of weird topstitched anyway.
You would never guess that something that looks so simple could be such a pain! Both great, but really love that black swiss dot one ;o)
Ha ha, that was EXACTLY what I thought when I was going along… how is this so difficult, it’s a simple damn blouse! 😉
My goodness, what a fitting saga! Both blouses look lovely and suit you so well. Great job!
Thanks, Sarah! I actually avoided this shape of blouse for a long time, thinking it would make me feel top heavy since I have a relatively big bust and a short torso, but I finally decided who cares! It’s a great shape and I want to wear it, so there. 😉
I like the blouse you constructed. The fabric choices were great. You look great.
Thank you! 🙂
Wow lovely those tops are lovely
Thanks!
I really admire your dedication to getting this to fit, I’d have given up ages ago! Both your tops are fabulous, and I really love the collar and neckline. It would look lovely as a bodice on a full or half circle skirt. Now I’m giving myself ideas!
Someone else gave me that idea on Instagram, to hack it into a dress! I definitely plan to try it next year when it’s warm! This year I just ran out of time to want to make such a summery dress. 🙂
Really nice – love the pattern and the garment looks fantastic on you!
Thank you!
These tops are awesome! We are just going into summer here and I’ve been trying to gather some shirt patterns like this. Also– that bias tape tip=mind blown. I can’t believe in twenty years I haven’t figured this out for myself, but at least now I know!!
Same! I don’t know why more people don’t mention that when talking about applying bias tape around a curve. I mean sure it seems obvious *now* LOL!
Also PS your hair is looking RAD.
Oh I love both these blouses Tasha, I predict the black one will be worn to death! You look fab, Thank you for the bias armhole tip, I’ve had the same problems for years and never been able to work out a solution, duh! x
Thanks, Jane! Isn’t that a great tip, why oh why didn’t we know it sooner?! Ha ha! I feel like it’s released me from being reluctant to sew sleeveless tops! 😉
Looking fab!! ? What skirt pattern is this? I need to make some basic blouses! ?
I know I’m late to the party; I just discovered your blog and I am reading through it. I’m very interested in your troubles with bias. Years ago I came up with something effective for myself that I think accomplishes what you’re doing here: I ALWAYS pre-press. I set or pin the bias into a curve to match my pattern or smaller. That means the inside of the circle is wavy. Then I carefully press this so it is perfectly flat. When I then pin it on and sew it, and it is already nicely eased for me. I make a lot of doll things with tiny, tight circumferences on the sleeves and this has been invaluable.
Seriously loving your blog.