Hello, friends! I have some exciting news to share.
Earlier this summer, I was asked to join the Mood Sewing Network. I know!! I was (and am) immensely flattered! Every month, I’ll be doing a post over at their blog of something I’ve sewn with fabric from Mood Fabrics. And then I’ll share some more details about the garments here on my own blog!
In fact, I’ve just had my first post in July—you can read it here. Go read that post, then come back here for more nitty gritty. 😉
In the meantime we won’t really talk about how my current project for them is not working out and I want to throw the vintage sewing pattern I was trying to use for it into the trash. Grrr. I’ve been having a tough sewing spell lately where I made a dress that makes me feel dumpy, then made a muslin of a blouse that then didn’t work out in the final (different) fabric twice, so I’m glad to be able to reflect on an outfit that did work out. I definitely will need a palette cleanser sewing project soon. Ugh.
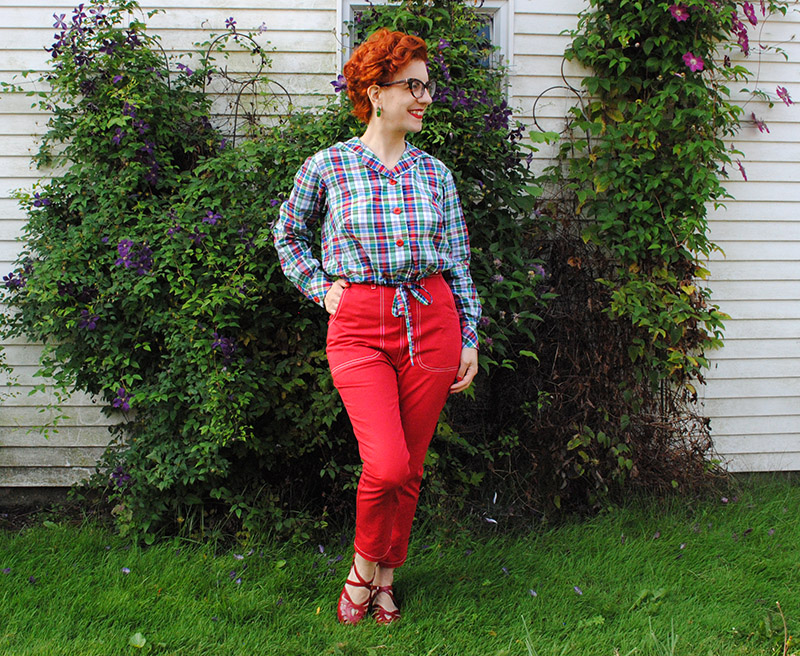
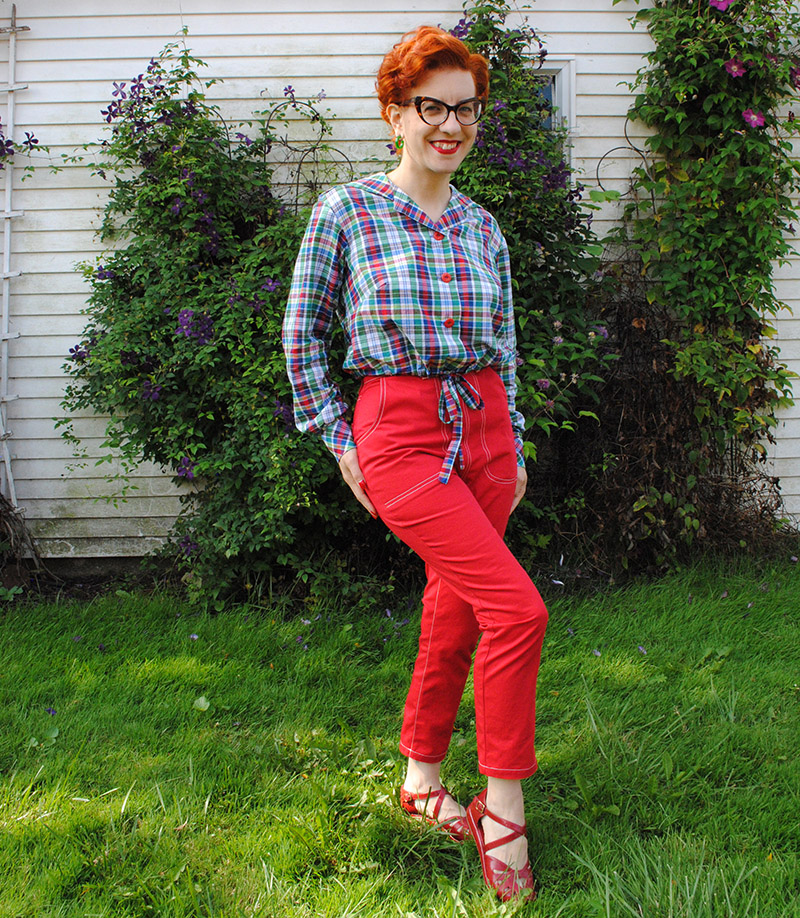
Anyway, back to this outfit. I sewed a full vintage ensemble, using two patterns from the 1950s.
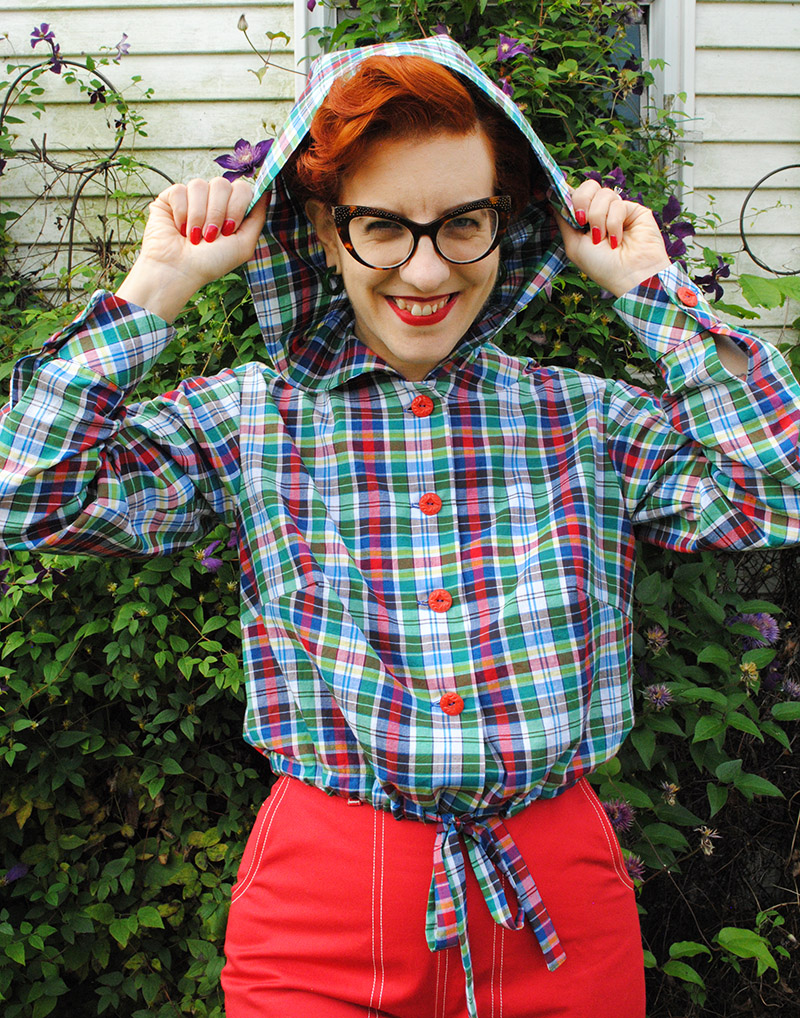
Let’s talk about the hooded shirt first because seriously, how cute is that?!
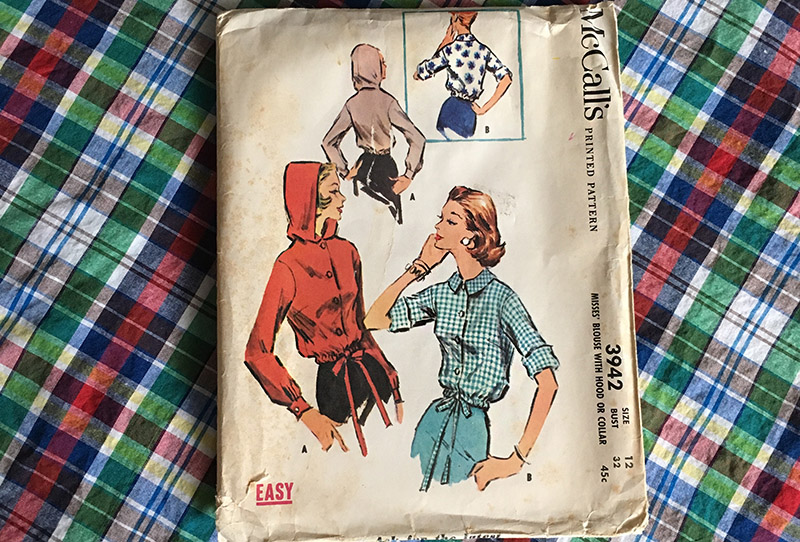
The hooded shirt was an example of getting over a sewing fail and trying something again. Kind of. Ages ago I bought two similar vintage McCall’s hooded blouse patterns, thinking they’d be great for cooler weather. Last year I did a muslin of one of them and it was awful! It had a neck placket that buttoned up but it was terrible bulky with the facing, and the hood was gigantic. It could have swallowed my whole head. And yours too. Literally, if I put it on, I could pull it completely down over my entire face and head and it probably reached near my collarbone. I stuffed it in my bin of muslins never to think about it again until recently, when I randomly got the urge to try out the other hooded blouse, even though I got this plaid voile with the intention of making a sleeveless blouse or something more summery.
The second hooded pattern I had, and the one I used for this top, was McCall’s 3942.
Thankfully this one worked out, and how! I LOVE how it turned out! I didn’t do a muslin which is kind of crazy given how the other one went, but I figured if the hood turned out gigantic, I could just fix that on the fly. (So I tried on the hood before I faced it, and it was fine. Reasonable level of hoodness.) I also figured how bad could it fit, with a drawstring waist? However, I did do a muslin for one sleeve, because I could tell they were quite wide, and I have pretty small arms. I took it in about 1 1/2″ from the underarm down to the cuff. I also lowered the bust dart 1 3/8″ since I always have to lower bust darts. But everything else, I sewed as is.
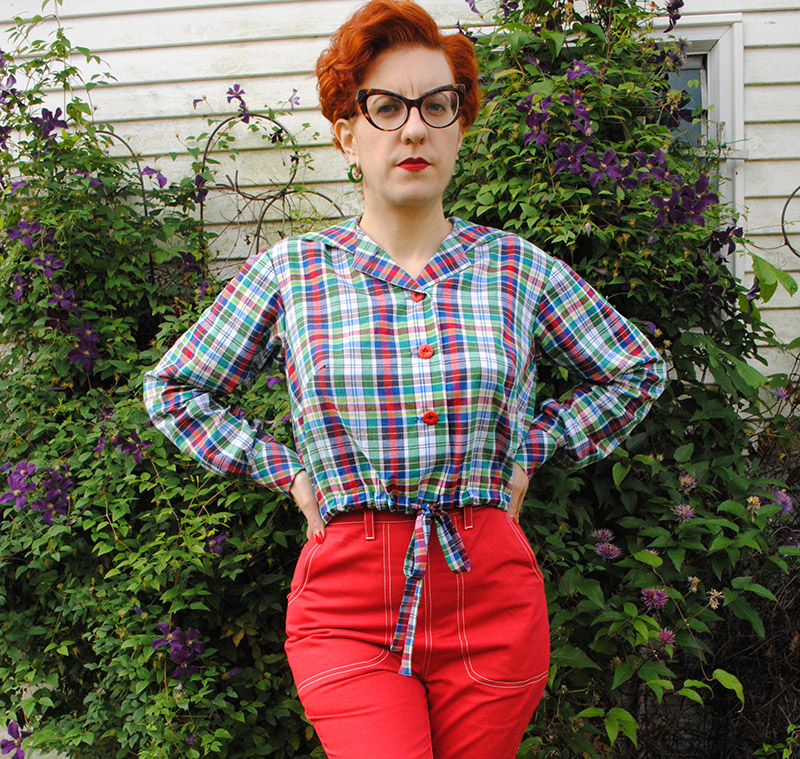
Typically, I’d raise the natural waistline about 1 – 1 1/2″, but when I held the tissue up, I realized that the drawstring was supposed to hit at the natural waist and there’s zero torso shaping because of the drawstring. I wear bottoms that sits at my natural waist obviously, but I didn’t want the shirt giving a peek of torso, so I left the length. And it’s absolutely 100% bang on where I want it, as luck would have it.
The plaid matching? Eeeeh.
I really tried to get the lines to match up across the bodice and the sleeves, but nope. I think it’s because it has dropped shoulders so it’s a super shallow sleeve cap, plus the front has bust darts (though the plaid on the bodice matches below the dart). I mean, I’m pleased enough with how it looks, and I managed to get it lined up both nicely horizontally and vertically across the center front (um after re-cutting when I discovered the horizontal lines were at least 3/8″ off). Even if the stripes don’t match from the bodice to the sleeves. The sleeves do match each other, at least.
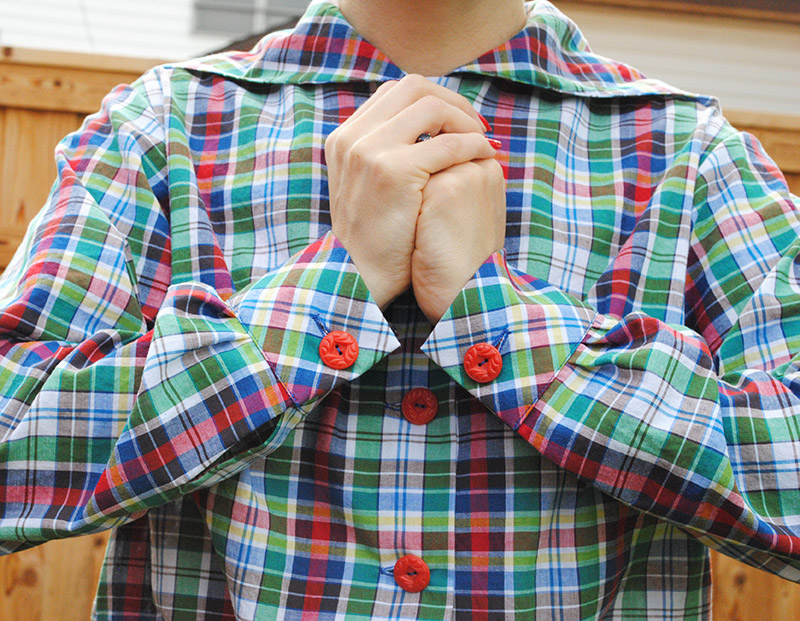
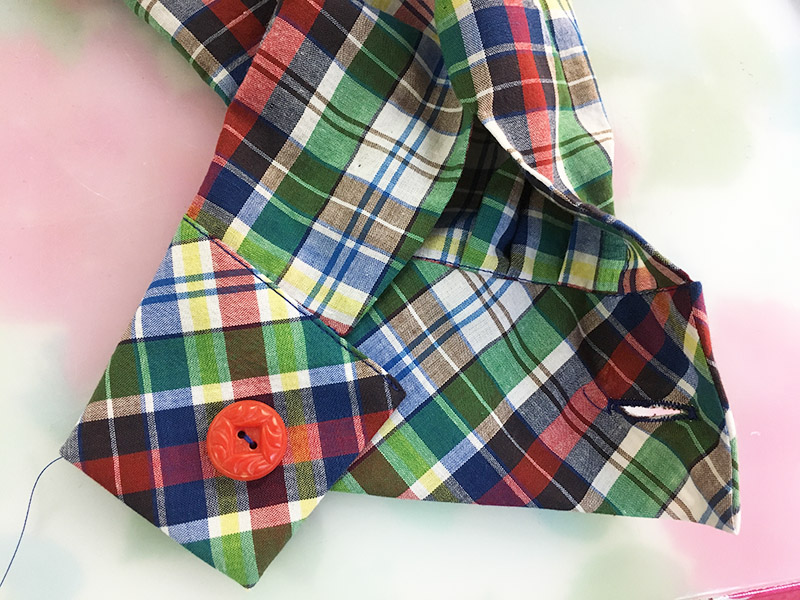
I cut the cuffs on the bias which I think is a nice touch. The plaid isn’t a balanced balanced so I worried it would look odd but I really like it.
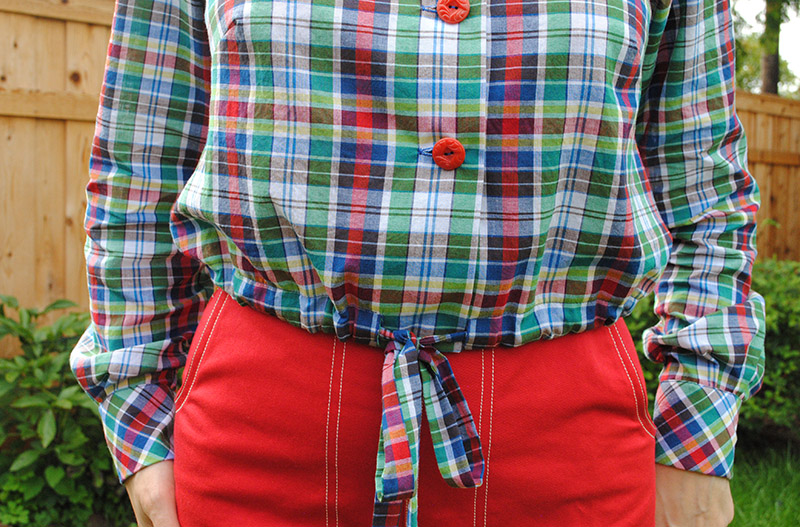
Oh, and like almost always because they’re so much better and not really more expensive, I used vintage buttons too.
I worried about the cuff construction but it actually was fine. It cleverly has you sew the facing side to the inside of the sleeve first, and then you topstitch it shut on the right side. Maybe that’s standard for this type of cuff, I don’t know, as I basically never sew long sleeved shirts, so the only other cuffs I can recall doing were on my Sew for Victory jacket several years ago.
The plaid on the hood mostly matches… not quite so much. But inside the hood when I have it up and you see the facing, it matches nicely, so that’s good enough for me. Overall I’m still calling it a plaid win. I can only be so finnicky.
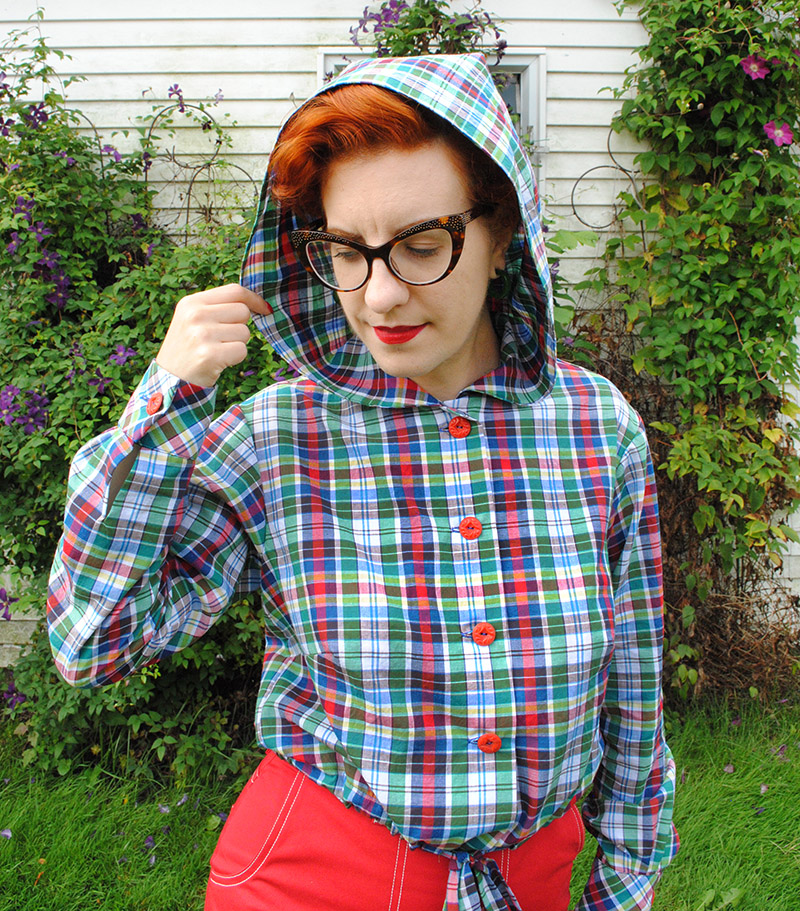
I initially figured I’d use flannel for this pattern, but it’s actually lovely in a lightweight voile. Perfect for cool evenings. It would definitely be less drapey in flannel but I might give it a try later in fall, we’ll see! I don’t think any of the seams are too bulky to handle it, though I’d face the hood in something lighter I think. Flannel and drawstring seems potentially puffy around the middle, but maybe if it was a lightweight flannel. The drawstring is actually one of my favorite parts of this pattern! And to construct it, it’s just two buttonholes with the hem folded up and the drawstring fed through it.
The only confusing thing in the pattern was that if you used bound buttonholes for the drawstring you were supposed to cut through the facing to make the little window for them (like you’d normally do), so at first I wondered if a hole needed to go through the facing too. This didn’t feel like it made sense because you want the drawstring enclosed, and when I was constructing it, I found out I was right. There’s no reason you’d need a hole in the facing.
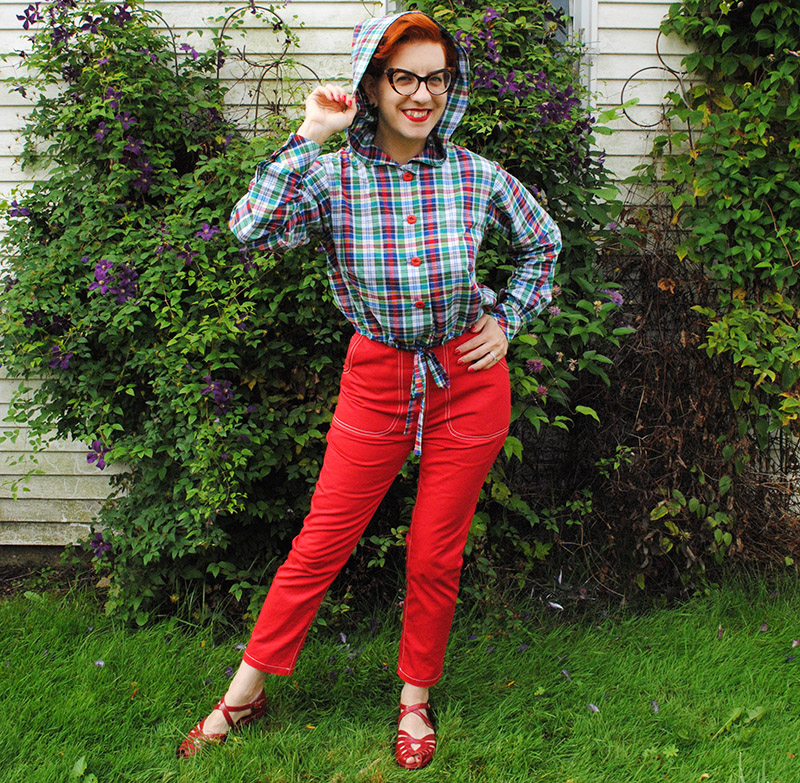
Onto the red pants. How did I live without these before I sewed them?!! It’s an example of something I didn’t realize how badly I needed, because I’ve literally worn them nearly every other day since I finished them. I LOVE THEM.
These are another riff on Simplicity 4401, the trouser pattern I first turned into seersucker capris, then truly did a conversion on the pattern to make it a pattern for jeans, doing my pedal pusher jeans first. It’s the pattern I’m going to use for myself for the vintage jeans sewalong I’m going to run this fall. I’m trying to sew up a couple of versions of this so I nail down my processes and what I want to share with you guys as tutorials during the sewalong. (More on all of that soon!)
So this red twill pair was next on my list after pedal pusher jeans. These are basically just a twill version of the jeans, but with a slightly longer and narrowed leg.
I transferred some fitting changes from basting my pedal pusher jeans jeans to the pattern pieces for the red version, and I’m pleased with the fit. The only issue was that this twill has nearly no stretch, so they were pretty tight across the hips and butt right off the bat, but have relaxed nicely and are quite comfortable. That must have been a fabric difference only as I didn’t make any changes between the two pair fit-wise in that area.
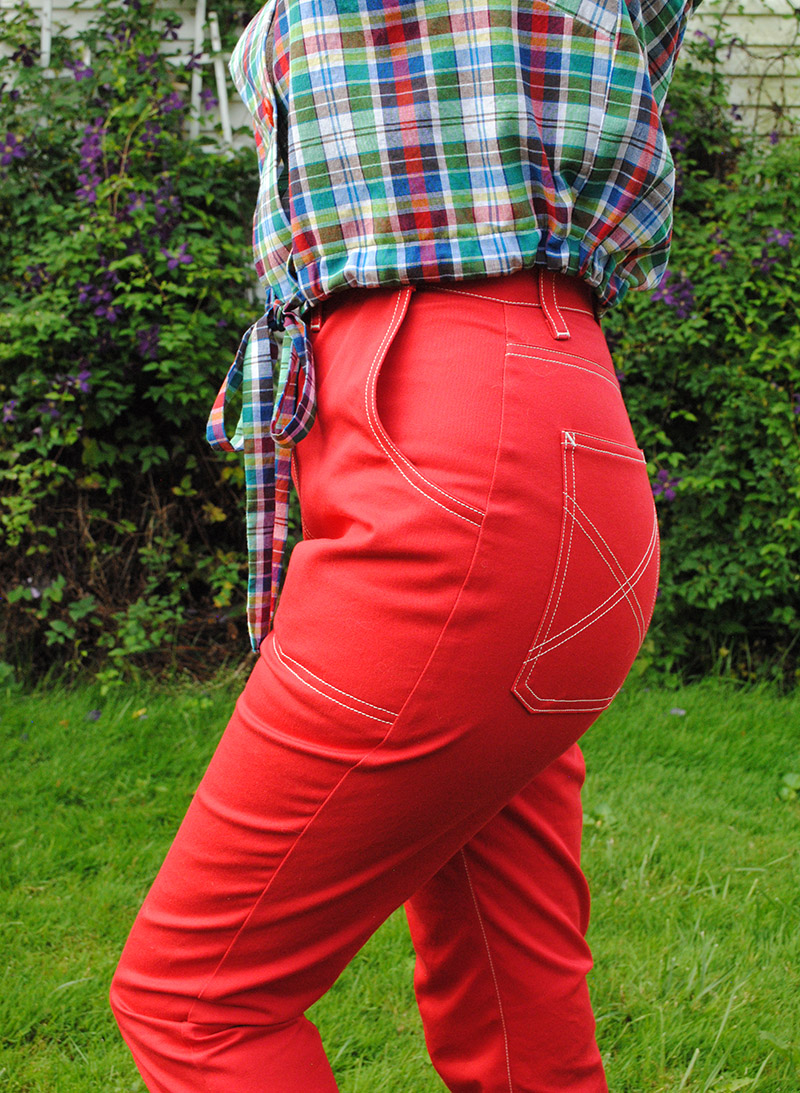
Here’s one little secret: when I sewed these, I noticed one of the back pockets was about 1/8″ higher than the other. I decided “screw it! I’m leaving it!” because how noticeable could that be, unless you were literally at the level of my butt? Answer: really noticeable. It was all I could see in the majority of the photos I took of the back. Obviously 1/8″ when my butt was stuffed in turned into a much more obvious deal than I thought.
So after these were taken, I ripped off the left back pocket (through two bar tacks and two lines of topstitching, ugh) and sewed it on again. I’m usually very precise with the pockets on jeans but I sewed these before doing the center back seam and I usually place them after, so I didn’t have that extra visual cue. I know not to do that again!
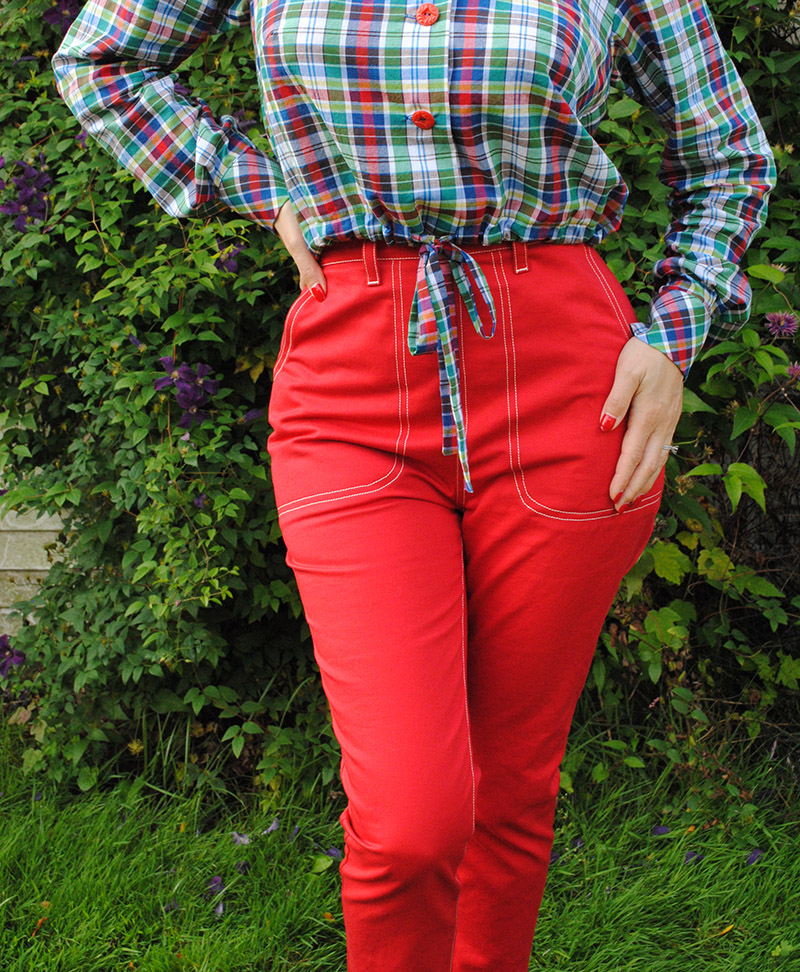
Speaking of the back pockets though, I’m really pleased with the design I used, just two sets of crossing lines. Kind of an “X marks the spot” thing. I really wanted to come up with something I felt pleased with enough to repeat, and I think I’m going to use this going forward on this style of large pocket!
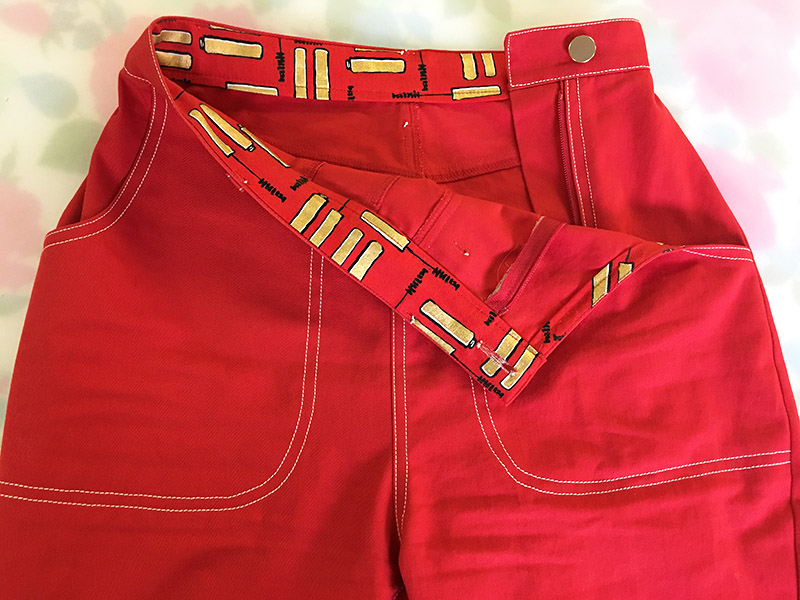
There was one stylistic change I made on the front pockets, from my pedal pusher jeans to these. I wanted to try a curved front pocket, instead of a straight across slash. With that kind of an inner curve though, I knew there was no way I could follow the procedure of folding the pocket edge in twice. There’s not actually a pocket facing attached to the front leg, unlike modern jeans patterns like Ginger or Safran.
Instead, I used a bias facing piece. And I matched it to the waistband facing—an adorable Robert Kaufman print of gold mascara tubes!
So that’s this whole outfit. I realize it seems a lot more like fall than summer, but hey, like I said I’ve already worn the pants a lot! And over the weekend when sipping a drink on the deck at night, the blouse was pretty great, too. 🙂
Stay tuned for more very soon about a vintage jeans sewalong this fall!
outfit details
hooded blouse – made by me
twill pants – made by me
bakelite earrings – misc.
sandals – Remix
The fabric in this post was provided by Mood Fabrics in exchange for my participation in the Mood Sewing Network.



So used to seeing you in floral prints – the plaid is a nice change. Very cute… Great job on the fit for the top and pants.
Thanks! Funny, I don’t think of myself as wearing all that much floral. A large portion of my wardrobe is actually plaid, it’s probably my favorite print type of all time. I’d sew with it more if it wasn’t so much of a pain in the ass with all the print matching!
Super cute Tasha, and that hooded blouse is perfection! Color, styling, all of it.
Thank you! One of my favorite types of color palettes.
Eeek ! That’s pretty much a plaid TA-DA!!!! I love it and those pants are sooooo awesome. I have a vintage pair that are similar that i outgrew. I’d love to make another pair that fit! I can’t wait to see your tutuorials. I have a feeling I’m going to have pants exploding out of my sewing room come fall…
what a fabulous outfit! I’m in love with that hooded shirt, I think I’d never take the hood off. It’s perfect for taming my crazy hair!
Ooh or how about lining it with like, a waxed cotton for your rainy weather?? 😉
Congratulations on your new Mood Gig. So well deserved!. I always smile when I see your posts appear in my in box…… and you are right, I suddenly need a pair of red pants! Your outfit is fabulous!
Thanks so much, Terry! And yes, who knew how badly one could need red pants?!
I spotted those vintage buttons right off the get go!
I just scored a vintage fabric similar to that – labeled from 1964. I really need to use it with a retro pattern as you have done.
Thanks! Sounds like a good score!
Tasha, Hands off to your creativity, From catty eye glasses to the red pants, everything is looking super good on you. I am sure by now, you know how avid reader i am to your blog? It would be a great pleasure for me to invite you as a guest blogger on my site http://www.sizzlestitch.com, Do you think you can get sometime from your busy schedule?
Fantastic job. I think the plaids matches/fits great, I know how difficult it is to make them match. Congratulations on being part of the network. And PS, you have the cutest butt in those jeans. 🙂