My latest collaboration with Craftsy had me watching a class on how to sew up a particularly cute, vintage-inspired dress! The class is Sewing Vintage: The Flirty Day Dress with Laura Nash.
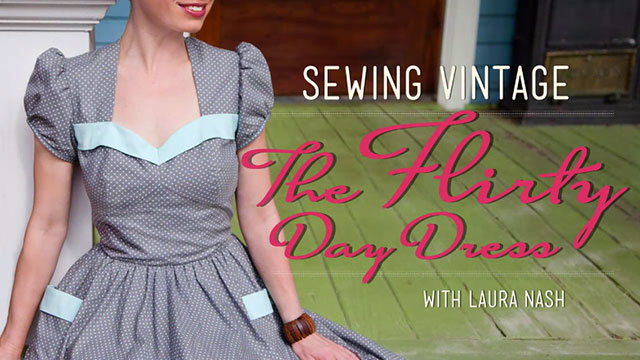 Source: Copyright © Craftsy, Sewing Vintage: The Flirty Day Dress
Laura Nash, by the way, is completely adorable.
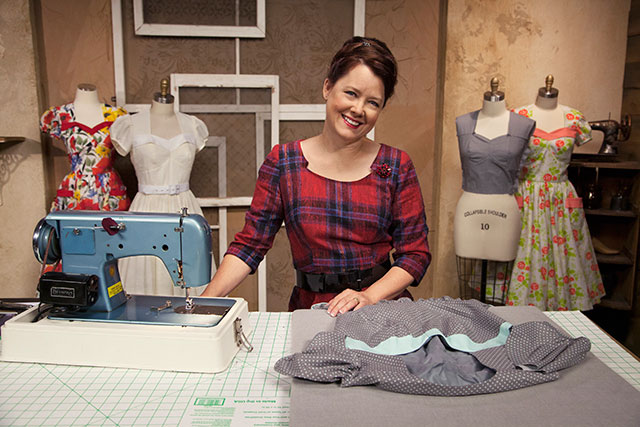 Source: Copyright © Craftsy, Sewing Vintage: The Flirty Day Dress
If I wasn’t already enjoying the class, I was enjoying the fact that Laura changed outfits in all the segments. Seriously. You get to see her wearing the class dress and a variety of 50s and 60s-inspired outfits. She’s so cute she made me want to wear late 50s/early 60s styles and I haven’t really done that since high school. 😉
The class is very detailed, as you’d expect from a class that walks you through sewing an entire dress. The pattern is Laura’s own Tia dress. Of course Laura covers the basics like fabric selection and picking a size, to cutting the pieces and straightening fabric grain, but she also walks you throught doing a full bust adjustment since the pattern is designed for a B cup. Which is great, since it’s not a one-piece bodice, so unless you’re very experienced doing FBAs you may not be sure where to start (I know I wouldn’t have known).
And Laura goes through every little detail you could possibly want to know in the construction, such as:
- sewing all the bodice pieces together
- adding the trim
- understitching
- finishing seams
- adding a waist stay
- adding a zipper underlay with a lapped zipper
I thought the zipper underlay was a nice touch. I do lapped zippers almost exclusively because I just prefer them, and some higher end garments (vintage and modern) have underlays to help the zipper not catch your skin or undergarments, and to keep everything nice and tidy. You can see the underlay in this photo from the class:
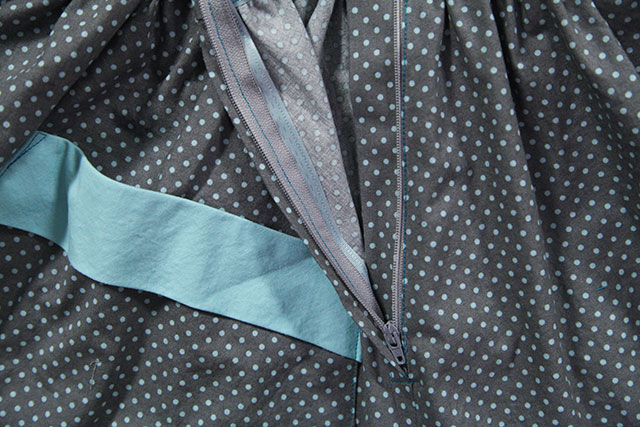 Source: Copyright © Craftsy, Sewing Vintage: The Flirty Day Dress
I don’t find an underlay really necessary for day dresses, but I totally appreciate that Laura shared this technique, and you can always apply it to something else, too! And with a lined bodice, zipper underlay and waist stay, this dress has a lot of nice touches. Plus as an added bonus, Laura walks you though how to sew a petticoat, too! Including how to use a ruffler foot.
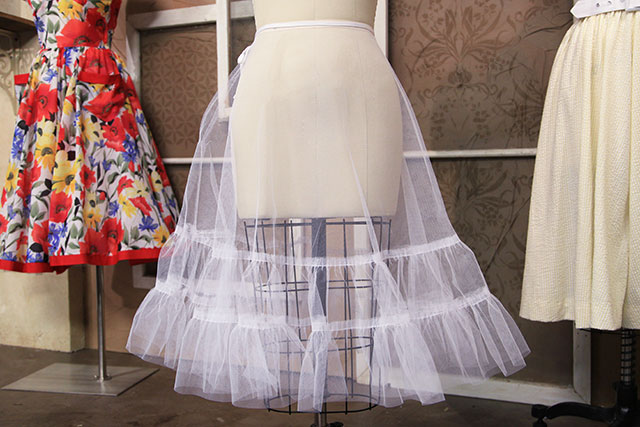 Source: Copyright © Craftsy, Sewing Vintage: The Flirty Day Dress
One last thing I particularly liked was that Laura sewed throughout the entire class with her vintage sewing machine (which she takes some time to introduce the class to). Pretty much all of the other Craftsy classes I’ve watched have shown the instructors using pretty pricey modern machines. It was a nice change to see someone using a vintage machine. And no I’m not biased since I recently bought a vintage sewing machine, I watched the class before I bought her. Ha ha!
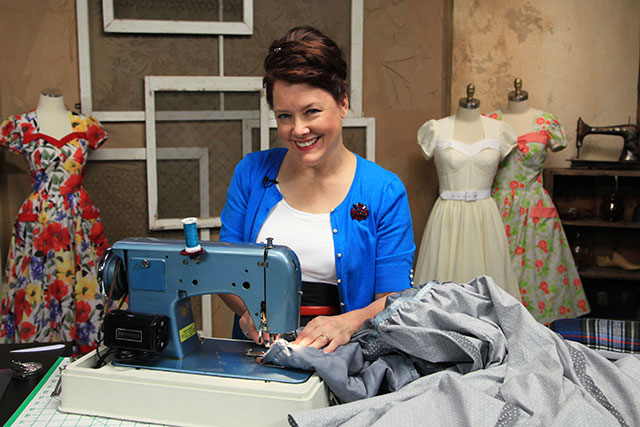 Source: Copyright © Craftsy, Sewing Vintage: The Flirty Day Dress
I started on the Tia dress but due to some tweaks I need to make in my bodice muslin that I didn’t have time or energy to work through at the time, I haven’t finished yet. However, my ultimate goal will be to sew a version without sleeves. I think it’ll be really cute, and I’m looking forward to getting back to it soon!
Enter the giveaway!
One lucky winner will get a FREE copy of Sewing Vintage: The Flirty Day Dress, thanks to Craftsy!
Here’s how to enter. It’s easy:
- If you’re new to Craftsy, register for a free Craftsy account OR
- If you’re already a Craftsy member, simply sign in and enter the giveaway
There’s one entry per person. The giveaway will close on Tuesday, July 29th at 1pm Central Time. Craftsy will randomly draw a winning entry and contact the winner. So get your entry in. Good luck!
(This is a sponsored post with Craftsy, however all thoughts and opinions expressed are my own.)

Thanks for the review, what a darling dress! I love the idea of taking these classes through caftsy, but I haven’t gotten around to it yet. Which one have you found the most beneficial thus far?
Also, can’t wait to see your version of the dress 🙂
Sounds like a fabulous class 🙂 Can’t wait to see yours!
That petticoat brings back memories. I’m 64, so I remember wearing not one, not two, but THREE of those things at a time to make the shirtwaist dress pouf out almost perpendicular to my waist. I was what, 8? at the time? So there really wasn’t a waist, but that was what the Cool Girls wore, so my poor folks had to invest in lotsa petticoats. And when you sit down in them, the pouf levers straight up in front to hit you in the face, lol. I was a *toothpick* back then so I imagine the look was more comedy than fashion.
Thanks for the review. I love to hear about good sewing classes to improve my skills. The plaid dress Laura wore is darling. I’ve just had a huge yen for plaid lately.
I’m delighted to hear that she uses a vintage sewing machine; when I got interested in sewing, my mom gave me her Singer Featherweight from the 60s. It runs perfectly and there is something utterly charming about it, but as a newbie, I get a bit intimidated when nearly every set of instructions or how-to wants me to be able to use stitches that my little Featherweight does not have. I suppose eventually I’ll get a modern machine, but my Featherweight will always be dear to me.
Now this looks like a fun class! The dress is quite cute and I love that she introduces her vintage sewing machine to everyone!
Ooh this one has been on my list for awhile. I’m glad to heat it’s nice and detailed.
That dress is SO darling! I didn’t know anything about Craftsy, now I’m exploring it a bunch. So many potential things to try!
This sounds like a great class and the dress is really cute. I can’t wait to see yours.
This looks amazing! So glad I have found this website!