
Today is day four in my mini series of nail care. Really, this is probably the shortest post in the whole series, but with some important tips!
I get asked a lot what do I do to keep my nails looking good. Both using gel polish, and just in general. Some people who use gel polish regularly complain about peeling, but I haven’t found this to be an issue. It can happen to me on occasion when I let my nails get really long, but because I was already plagued with peeling and breaking nails before, it’s not surprising. It usually means my nails have gotten a bit too long and it’s just time to give them a bit of a trim, anyway!
Overall I’d say the health and condition of my nails is a lot better since I’ve been using gel polish than it ever was before. So here’s how I keep my nails happy and healthy!
My six simple tips for happy nails (especially using gel polish)
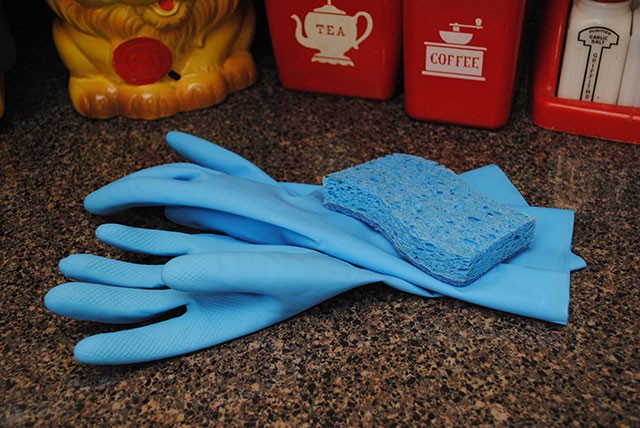
Tip 1 – wear gloves when you do the dishes
I live in a 50s house with no dishwasher, so I do a lot of dishes. I always, always, always wear gloves when I wash the dishes. It took a little bit of getting used to, but now I don’t even think twice about it. Added bonus: dishes are less slippery when washing them with gloves on. Great if you have vintage drinking glasses like we do! I also wear gloves when I’m gardening and cleaning up in the kitchen or bathroom.
This is probably the single biggest factor in helping keep my my nails and hands looking nice, and keeping polish from lifting or chipping. You may be groaning at the thought of being meticulous about wearing gloves but take it from me: it makes a huge difference. (Especially in winter!) Like I said in my series intro post, I’m not a terribly delicate person and so I manage to bonk my nails into things all the time, which of course can ding up your polish and your nails. But taking dish washing out of the equation has been really helpful!
Tip 2 – apply nail and cuticle oil at least once a day
I don’t use anything fancy, just some Sally Hansen Vitamin E Nail and Cuticle Oil I picked up at the drugstore. I rub it into my nails and cuticles, and if my nails are long enough I’ll rub it on the underside of them, too. It soaks in quickly but if you’re concerned, just do it right before bed.
I try to do it more than once a day, but at least once a day is helpful. If you think you’ll forget to do it, put it next to something really obvious to remind you. Mine lives in my medicine cabinet directly above my toothbrush.
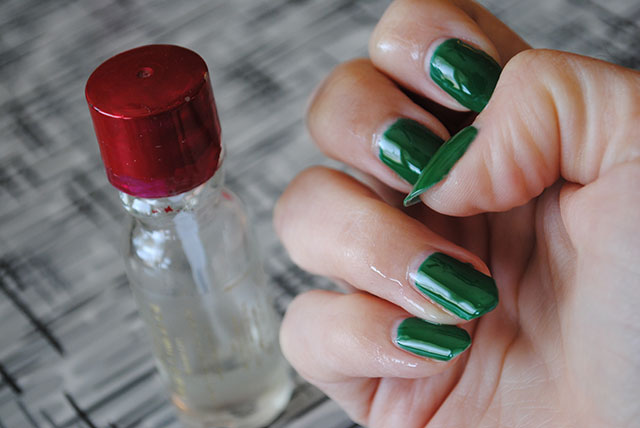
(If you’re wondering why the cap is red, I’ve had it long enough that the oil started to eat away at the gold-colored plastic covering the cap, so awhile back I painted it with polish.)
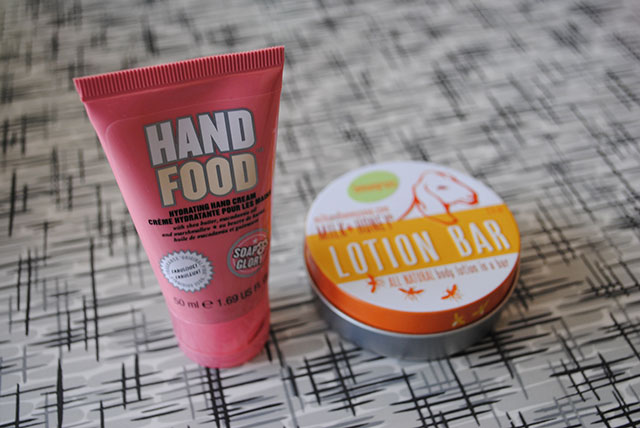
Tip 3 – use hand lotion at least twice a day
Sometimes I use hand lotion, sometimes it’s body lotion. The point is, I keep my nails and hands hydrated as much as possible. In the dead of winter when your nails and hands are raw and protesting, I like to use a little bit of Burt’s Bees Res-Q ointment on my nails and fingertips.
Two of my favorites are Soap & Glory Hand Food (when I want something lighter) and Milk & Honey Lotion Bar (when I want something more hydrating).
Tip 4 – don’t use your nails as tools
I feel kind of silly even mentioning this, since I feel like it’s obvious, but it bears repeating. I try to use my nails as tools as little as possible. I don’t use my nails to open up a can of Coca Cola (I use the side of my fingertip). I don’t use my nails to push elevator buttons (I use my knuckle). I don’t pick at things with my nails (well okay, sometimes I do but I try not to). If they’re so long that I have to start using them as tools because they’re getting in my way, it’s time for me to file them.
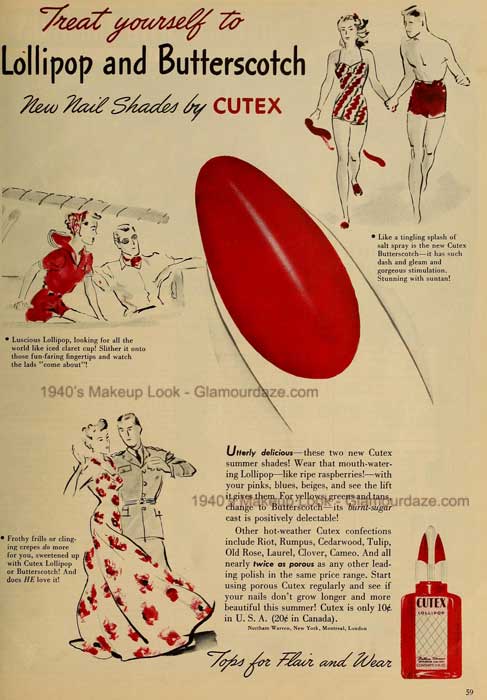 Source: Makeup adverts of the 1940s, via Glamour Daze
Tip 5 – don’t buff/sand your nails
Most gel polishes tell you to lightly buff/sand the surface of your nail before you apply the base coat. This helps rough up the surface a bit and will let it bond better with your nail. And yes, the key words here are ‘rough up the surface’. That’s your nail, and you’re obviously damaging it. I do NOT do this.
I did start off buffing my nails before applying gel polish, dutifully following the instructions with my kit, and perhaps nail technicians would disagree with my decision not to. But after about 6 months or so I wondered what would happen if I stopped. And you know what? I have noticed absolutely NO difference in how my manicures hold up when buffing vs. not buffing. None whatsoever! Yes, I get occasionally lifting of the polish at the side or the tip after several days, but I did anyway. And now when I remove the polish, my nails look about 200% better than they did during the time that I was buffing before applying polish.
So I haven’t buffed my nails in probably a year and a half. This is also a great tip if you only sometimes paint your nails with gel polish, as then the surface of your nail isn’t going to be funny looking and rough if you’re going au naturale.
Now, I do want to leave you this tip with the caveat that your mileage may vary… this works for me but might not for you. You may find you still need to buff your nail to get gel polish to properly adhere, but if you do, just make sure to use a light touch.
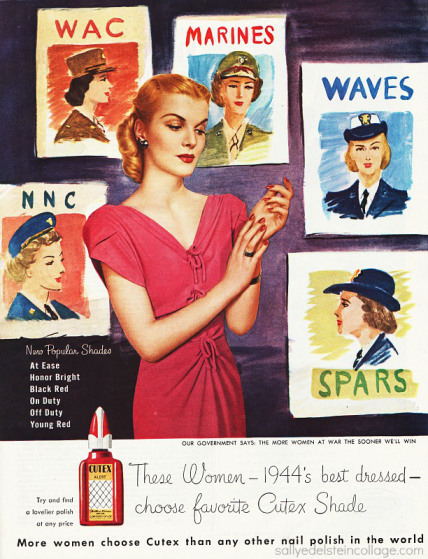 Source: Beauty bait during wartime, via Envisioning the American Dream
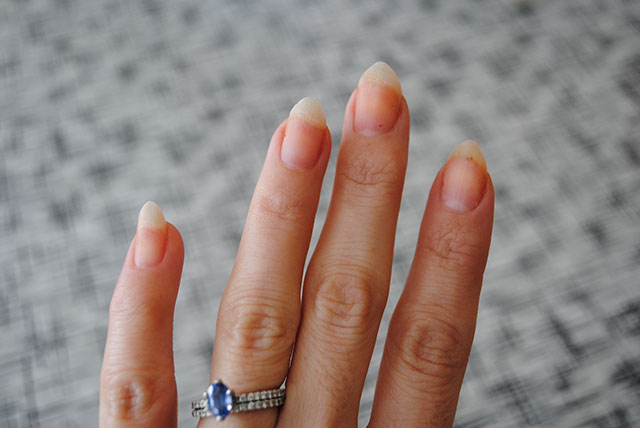
Tip #6 – if your nails start to look tired, file them
The last tip is just a general nail care tip. If your nails have gotten really long or are starting to look a bit dodgy, it’s time to trim and file them down a bit. They’ll grow back, I promise! Really, they will. If the edges are getting raggedy then the gel polish won’t adhere as well, anyway, so do yourself a favor and give your hands a little spa treatment.
I usually give my nails a good trim and file every 2 or 3 times I paint them (i.e. every 4-6 weeks). I’ve read that you should never clip your nails, only to file them in one direction. I’m sorry, but my nails grow fast and if I need to file down 3mm of length, I am sure not going to sit there filing until the end of time! So I do trim them when it’s time to rein them in a bit. I trim them with very very small clips at a time on either side (never straight across), and that way I don’t stress the nail and break it on the other side. Then file to shape with a glass nail file. I love glass files! A thousand times better than regular nail files or emery boards. They are very very smooth and never dull. (At least mine hasn’t in the 2+ years I’ve had it.) You can pick one up here or here.
So with my nails, I’ll often go through a cycle of slightly shorter to progressively longer nails, then shorter again. I personally think of it like trimming your hair: even if it’s long… it helps keep everything look its best.
As I’ve said before, my nails are happier and healthier than they ever were prior to using gel polish! For me, that’s been easily accomplished following these easy steps on a regular basis. If you have any other nail care tips, please do share!

Next time…
I have something special for tomorrow: a review! Stay tuned and learn about my brand new love affair with Couture Gel Nail Polish.
Unrelated to your post — I love the pattern on your table top! SO AWESOME!
I’m terrible at taking care of my nails. I’m always up to my elbows in some sort of project for the home, cleaning or painting. I’ve come to terms with me not having long nails, but I’ll have to try some of these tips to at least keep them looking healthy even if they are short! 🙂
I just want to say thank you for your posts on nails. I’m interested in using gel polish but haven’t taken the plunge yet. You are answering lots of questions. Problem is…. I have tons of regular polishes… :-/
Weird question: do you clean your nails? If so, how? I can’t stand having long nails because even though I clean them in the shower every morning, by the end of the day they’re gross again from peeling oranges and the gunk on my bike handles and who even knows what else. I’m always surprised by it because it’s not as though I live particularly rough (I don’t even garden) but it always happens. Also, how do you peel oranges without your nails?
This is why I have such bad nails- I don’t know how to not use them as tools!
Thanks for doing this series, Tasha! I have had one professional gel manicure and pedicure and I loved the results. Your posts are making me want to try the at-home kit!
As far as nail tips go, one of the best things I did for my own nails was to start trimming them with small curved nail scissors instead of nail clippers. I am fortunate that my nails are naturally strong and thick and using the clippers created an edge that tended to peel whereas I never have that problem when I use the scissors. Plus, I find it easier to control the shape of the nail which requires less filing.
I’ve been looking for gel polish kits which are available here in the Netherlands. It’s definitely more expensive than getting a normal bit of colour but the beauty blogs here love the stuff too and there seems to be a more budget-friendly option which I can try first.
A lot of the kits they describe come with some kind of peel-off stuff though, and they advice against soaking because acetone is bad for your nails… although opinions vary.
I guess I’ll just have to try out.
I think I’ll see if I can buy the budget starter kit tomorrow. It would be nice to have polished nails again…
Your nail posts are SO interesting and they have helped me make up my mind.
I painted my nails solidly from being 16 to last year 38 (gulp) years. I really do not like unpainted nails – somehow they look a bit Girl Guide like to me – but something had to be done. They were in a terrible state splitting, peeling and despite always using base coat, a ghastly shade of orange.
April last year I took the polish off bought a tube of hand cream to leave by every sink and a couple for handbags some oil for by my bed then then sat on my hands for a few months whilst the orange grew out and the splits and peeling reduced then stopped. My nails now grow and don’t peel but they certainly don’t look anything like yours which are lovely.
I’ve been reluctant to get back to painting having got rid of the damage and had been wondering about gel – you have convinced me – think I’ll give it a try as I long for ten longish almond shaped red nails.
First let me thank you for these post. I love the idea of nails like yours. I am not sure that I could accomplish it. I teach art and more specifically ceramics which is why I never have nice nails. I don’t think it would be possible to wear gloves as vigilantly as you discuss. I have thought of trying when I have summers off and my biggest challenge is my gardening. I am pretty good using gardening gloves. Well We will see, I have been loving the advice.
If people reading the gloves suggestion for dishes and cleaning are a bit put off, I highly recommend getting a box of the latex ‘dentist’ gloves – they’re thinner than regular dish gloves so it is a LOT easier to work with them, you still get that extra grip on slippery dishes, and the bonus is that so long as they don’t split, they are reuseable! I know they’re designed to be disposeable, but I can use a pair easily for a month or more before they really have to be chucked out (unless they get holes in them!) I react to the rubber in regular dish/cleaning gloves, so the latex ones are a great alternative. And bonus, if you use them for an icky job (I have a cat…he likes to catch rats…and leave them for me to deal with) you can just throw them out rather than washing them!