
Today is my first collaboration with Craftsy! I revisited a class that I already had viewed, actually. It’s the (free!) Mastering Zipper Techniques with Sunni Standing.
The class covers invisible zippers, slot seam zippers and lapped zippers. The really nice part is that it also covers inserting a slot seam zipper with a lining, and an invisible zipper with a lining and facing.
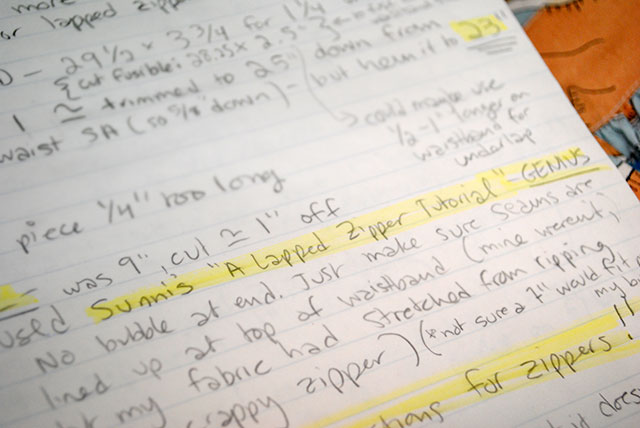
I think Sunni is The Woman for zippers. Well before ever taking her free Craftsy class, I had already been using her lapped zipper tutorial from her blog. I actually have a note on a project page in my sewing notebook saying that her zipper instructions were genius. For real.
For my latest project (another dress using the same 1945 pattern as my Singin’ in the Rain dress), I decided to follow the lapped zipper instructions from Sunni’s Mastering Zipper Techniques class pretty much exactly.
Other than a regular zipper of the proper length and your project, the only other supply she calls for is fusible knit stay tape, to stabilize the zipper opening on either side.
Now, this is a product I’ve read about time after time, but hadn’t purchased until now. Previously I always stabilized my zipper opening either with silk organza or with lightweight fusible weft interfacing. Silk organza has to be sewn in and can be a little fiddly. Fusible weft is pretty lightweight, but a bit too stiff when folded over (as you do in this method), so I always felt my zippers were a little too stabilized.
Of course, that’s before I listened to Sunni.
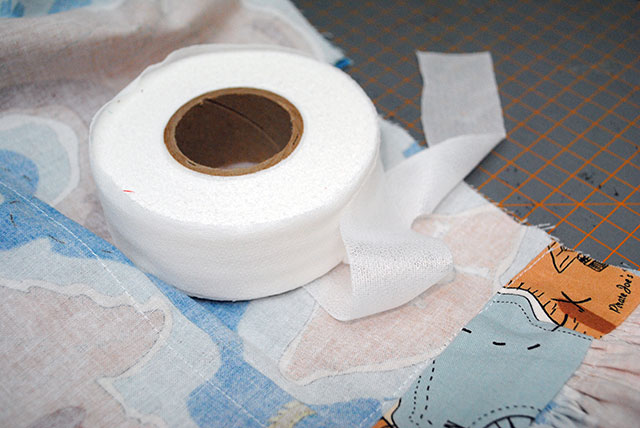
Oh my goodness, this stuff is awesome! Seriously, I should have gotten it sooner. It’s super lightweight but provides just enough body to stabilize the zipper. It’s exactly what you need and now I understand why it comes so highly recommended. Sunni sells it and it’s currently out of stock but you can also get it direct from Emma Seabrooke.
In the class, Sunni uses 1 1/4″ wide, which is exactly twice the width of the common modern seam allowance of 5/8″. (For vintage patterns using 1/2″ seam allowance or for other widths, you can easily trim it down.) You fuse it to the wrong side of your zipper opening on both sides. You can see I’ve done that below. The only change I made was to not apply it to the inset waistband of my dress, since that’s a double thickness of fabric already and didn’t need it.
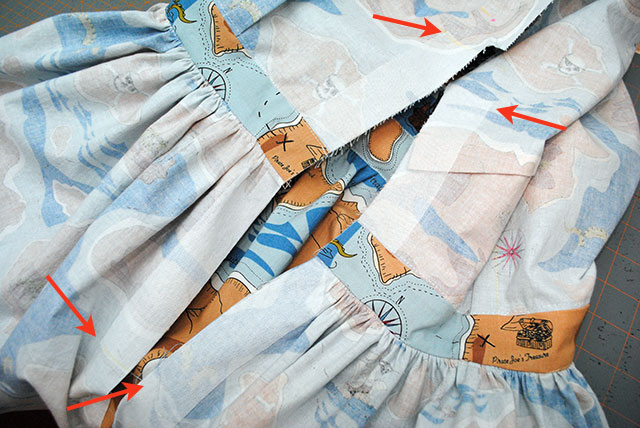
Arrows show the start and end of the stay tape… I probably shouldn’t have applied it right over a bust dart but oh well, I did
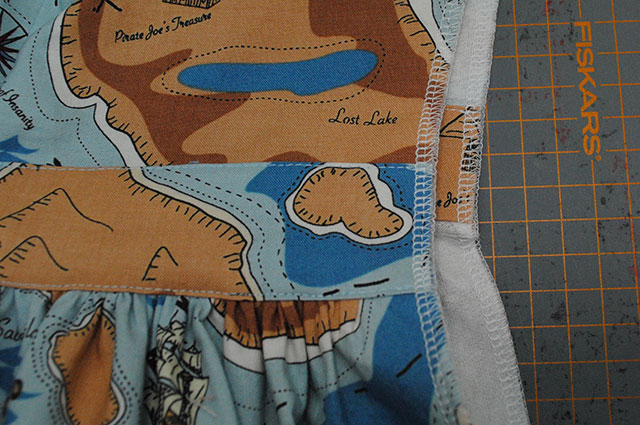
It isn’t mentioned in the class, but it’s worth noting you should finish your seam allowance on both sides after applying the stay tape and before you insert the zipper… and I emphasize this because naturally, I’ve screwed this order up before.
Your next step is closing up the rest of the seam above and below the zipper opening (or just below if you’re doing a skirt with a waistband). This is the part where Sunni’s instructions differ from the first few ways I tried inserting lapped zippers. All of which involved preparing the zipper with the seam open, not basted shut. And those results were always decent, but sometimes I’d get a bubbly bit at the bottom, or this would somehow not line up quiiiite right.
So when you try the method in Mastering Zipper Techniques the first time, the first few steps might just seem really…weird. You’re doing it with the seam basted shut. And when you fold your garment to the side to baste half the zipper upside down, you’re really going to have to just trust that it works. Because it looks kind of crazy.

Note: I sew my laps with the overlap on the left side of the garment and the underlap on the right, so it’s the opposite way Sunni shows you in the class
But it really does work, I promise! The garment is inside out and off to the side when you sew the underlap (sooo much better than reaching through a zipper opening to do this), and you sew the overlap with the seam shut, either by machine or by hand picking it. If your sewing machine refuses to not go wonky when you pass the zipper pull (even using the zipper foot), you can always unpick 2″ or so of the basting at the top of your zipper so you can move the zipper pull out of the way when you stitch past it.
Or, like I often opt to do, you can hand pick the zipper. That leaves only tiny little stitches on the overlap side. It gives you all the control and is neat and tidy looking, to boot.
Once your lap is sewn, then all is revealed when you unpick the basting stitches.
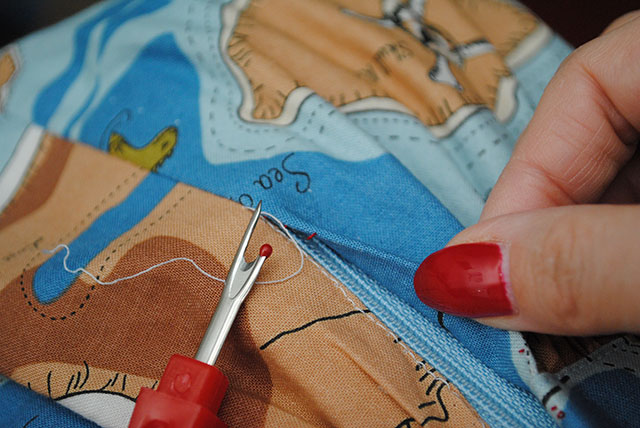
And look, a lapped zipper!
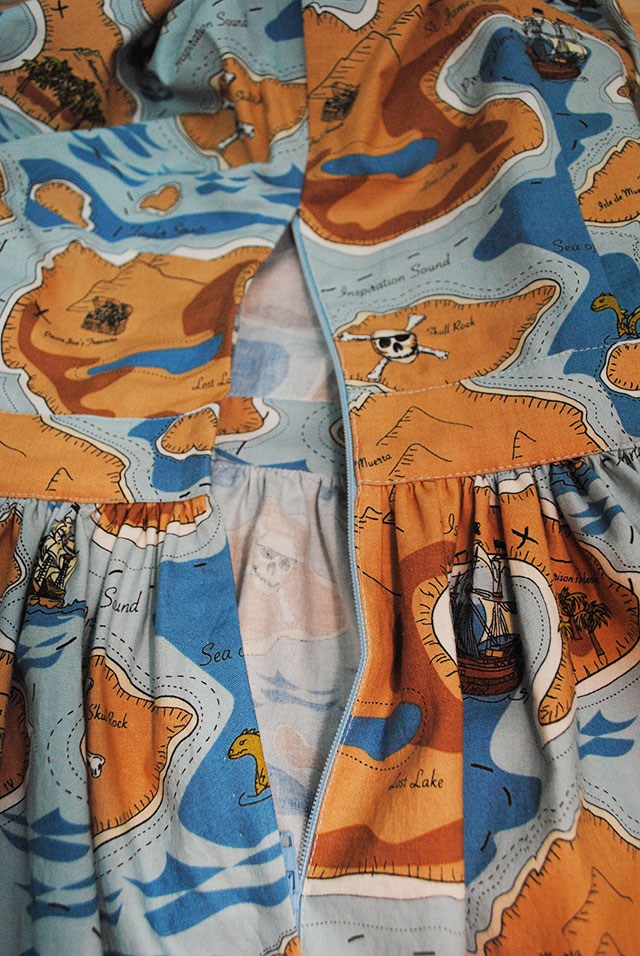
Not a funky bit in sight. Just a nice, relatively discreet lapped zipper, great for vintage and modern sewing alike.

I would definitely recommend this course. The only thing I wish it covered was inserting a lining with a lapped zipper, but fortunately that’s covered for slot seam and invisible zippers, so for those of you who prefer those methods, the lining parts are brilliant! But honestly, I can hardly complain as this course is jam packed with helpful info.
If you don’t feel like you have a method or two in your arsenal that reliably produces a nicely-inserted zipper, then this class is definitely for you. And if you just like to try out new techniques, it’s for you, too! I know I certainly refer back to the lapped zipper lesson each and every time I haven’t inserted one in awhile. It really is top notch.
Sign up here for Craftsy’s FREE Mastering Zipper Techniques class. Happy zipping!
p.s. Want to see the finished dress? I know I’ve taunted you twice now with the fabric. Stay tuned next week for the full reveal!
(This is a sponsored post with Craftsy, however all thoughts and opinions expressed are my own.)
Oooh! That looks like a great way to stabilize a zipper! Thanks for sharing!
My pleasure! It’s definitely an improvement from any previous way I’d stabilized them.
I was, seriously, laying in bed this morning thinking I need to learn how to do lapped zippers! So timely! Thank you!
Zipper karma, then! 🙂
Holy cow, this dress looks amazing!!! I’m lovin’ it!
Ha ha! I promise you’ll get to see the whole shebang soon!
This is a REVELATION! Zippers are always such a pain and I never can get them in without some wonky ness occurring. I’ve taken to just hand picking them all the time now because at least I have some control over the stitch line. However, this lapped zipper approach will let me machine stitch at least once side now so that saves me some time. This is fabulous! I’m going to check out the tutorial on Craftsy now.
Oh I’m so glad! It really is such a great method, definitely worth trying out. 🙂
That fabric…wow…can be say so, so many degrees of fabulously cool? 🙂
♥ Jessica
Thanks Tasha, this is a great reminder that I need to check out this course. It looks like time well invested!
Thanks for this demo and the link. I learned to do zippers in Home Economics back in 1963, yes, I’m ancient! But that first zipper? OMG. I made Every. Stinking. Mistake. Possible. on that zipper – imagine a 13 year old literally weeping over the sewing machine – but in the end, that meant that zippers have never given me any trouble since then! And the method you describe, folding “your garment to the side to baste half the zipper upside down,” is just how we learned back then. I haven’t sewn for decades, until about a year ago when I started sewing a bunch of stuff that’s all straight lines LOL – like tote bags, pillows, pillowcases, etc. I’m gradually working up the courage to make garments. I love your blog, and Lucky Lucille’s and Male Pattern Baldness. I will never be in you folks’s league but you do inspire me!
Thanks so much for such a fabulous in depth review of my class! I’m looking forward to what you say about the other Craftsy classes you’re going to review too! And I have to add, I love that stay tape. Oh my gosh, I love that stuff so much! I swear Emma has fairies that weave it working for her – its that magical! Yay! I love everything you do Tasha!
Thank you so much, Sunni, that means a lot to me! ♥ And oh holy holy, I’m totally converted to that stay tape now. 🙂
Thank you so much for sharing! I agree Sunni is genius and I fully appreciate the extra tips and great photos of your fabulous dress. Can’t wait to see it!
This class looks great! I’ll defiantly check it out next time I do a zipper. I’m interested in your sew notebook- what kinds of thing do you keep track of in it?
For every project, I cut a little swatch of fabric, say what pattern I used, size, seam allowance used, how much fabric I had and any construction notes I may have. It’s extremely useful to look back at!
oh my goddess such a perfect tutorial !!! thanks a lot for this !
I have for some reason not viewed the class yet had it already saved… Looks like my evening viewing
PS. Loving the blog
Louisa
http://knottednelly.blogspot.co.uk/